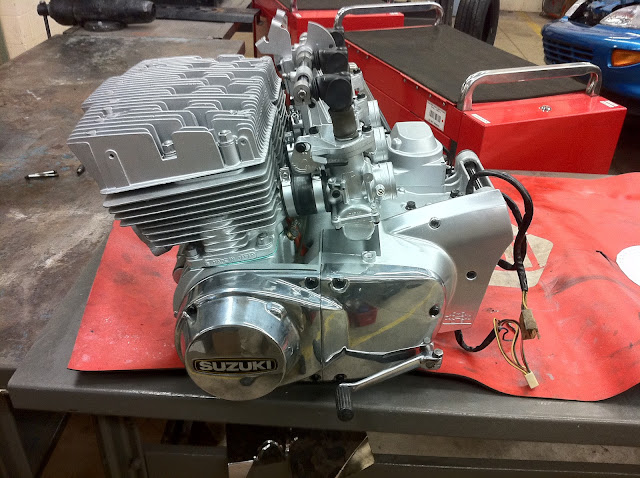
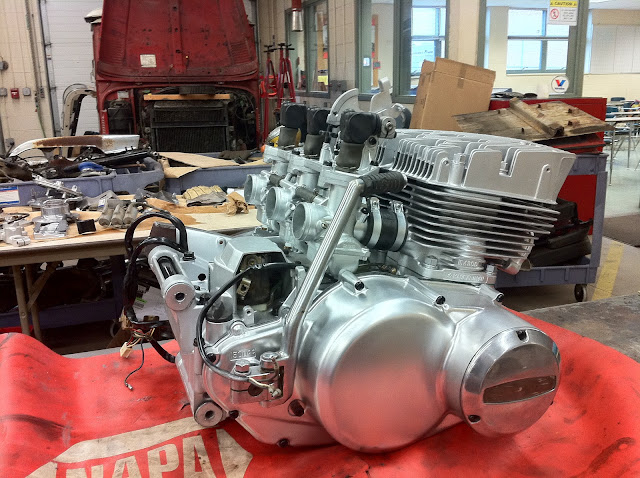
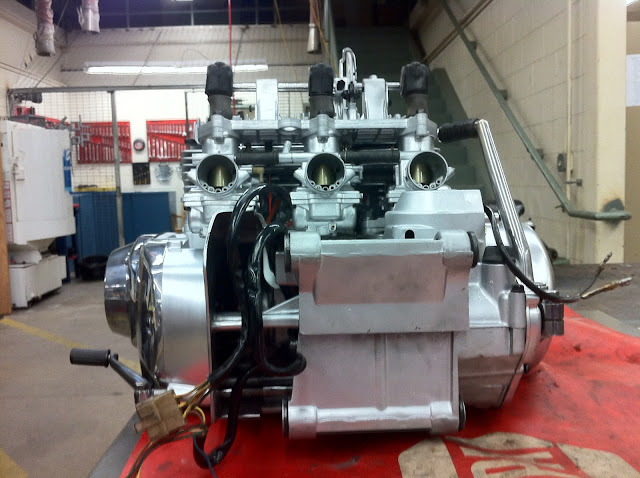
I ordered the Keyster kit off ebay. Like this set: Click for ebay link from seller: Rusty Riders LCC
This was for a kit to do three carburetors.
It's just as pictured, but the jets that are included in the kit don't match factory jetting of the carbs. SO,after earlier discussion on the forum regarding Keyster carb jets, I resolved to clean, inspect, and reuse the OE jets & needle.
Here's a before shot of the '74 carbs:

You can see they're a bit cRusty and sporting the wrong fuel supply hose and some ho-made (PO) "dust flaps" above the slides. Not sure if they did anything but ride up & down w/ the slides. They looked to be circles cut out of an inner tube.


So, with my oversight, my student disassembled the carbs from the upper framework and set about dissecting one at a time.
We removed every little bit and all the metal bits went into the carb cleaner bucket overnight. The rubber bits were kept out for later comparison.
The next day we pulled them out, rinsed them off, washed them down with carb cleaner and then brakekleen.
We then reused the OE jets as there was a visual difference in size and opening of the jets.
We pulled the new o-ring off the new pilot air screw and put it on the old pilot air screw. We used the new washers from the new jets, but only the washers. The OE needle jets were in fine shape. We did use the new valve seat and new needle valve.
After all were cleaned and installed, the float height was adjusted to 1.010" (or 25.75mm), and they did need adjustment, they were nearly 1.080".
Then the ports were plugged and the carb sprayed with the same high temp, solvent/fuel resistant aluminium paint the case was.
All the fasteners were blasted and sealed with gloss black engine enamel.
You may be able to see the assembled carb in the upper right of his "workstation."

We then disassembled the upper frame, the pivot rod was quite rusted and was difficult to remove. One of the throttle valve arms cracked as it was "massaged" through
I blasted the assembly, and it received paint as well.
Here it is on the right:

The pivot rod dust boots were in nice shape, just dirty. So after a gentle cleaning:
Left is after; Right is before:


So during reassembly, I was going to replace the rubber dust boots the factory calls for on each throttle valve rod, but at $20 each
Lets see, I need a flexible and solvent resistant boot that allows the rod to move through it, but not allow dust underneath....
like the factory boot.
Well, I have an old set of glass bead cabinet gloves that were only being used for stripping paint...

...and the fingers look about the right size and when turned inside out...

....and when installed and stainless safety wired in place....

They work PERFECT!
click for short video
The throttle valve arm's boots are not down yet because the slides need their resting height set after all the carbs are rebuilt and bolted back onto the upper frame, but you get the idea....
So, one down, two to go...


