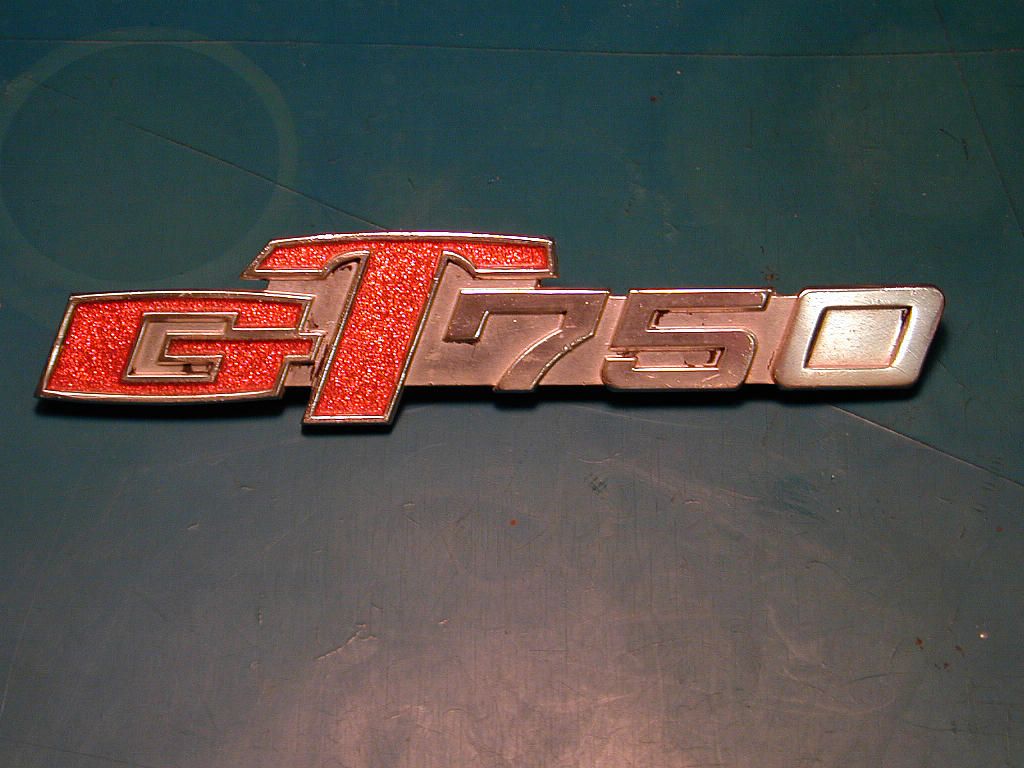
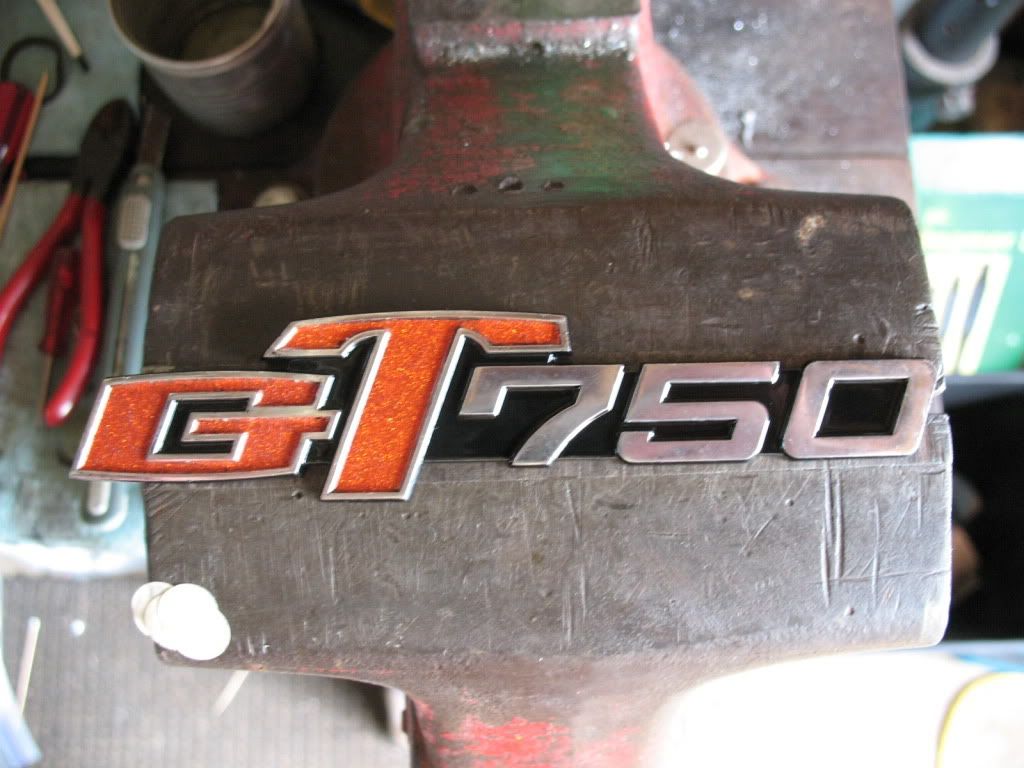
Refurbishing badges. Here's a badge I had that was missing most all it's paint, but the orange flake was still good.
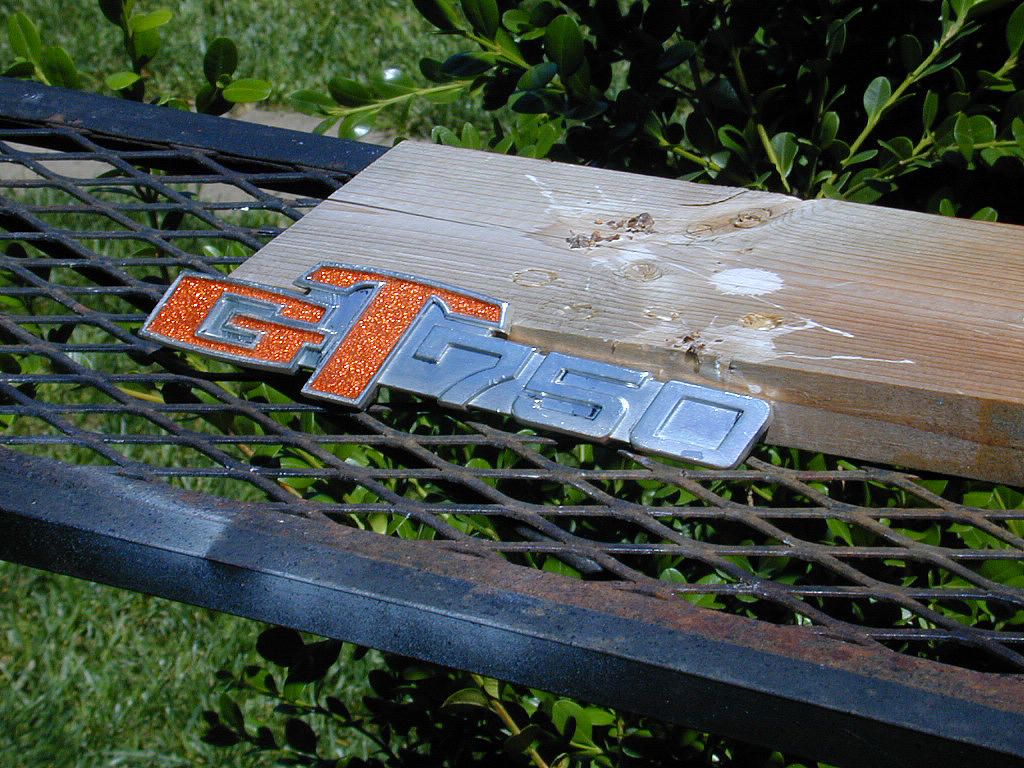
Here it is after washing it down with Simple Green and a tooth brush. Bird poop optional
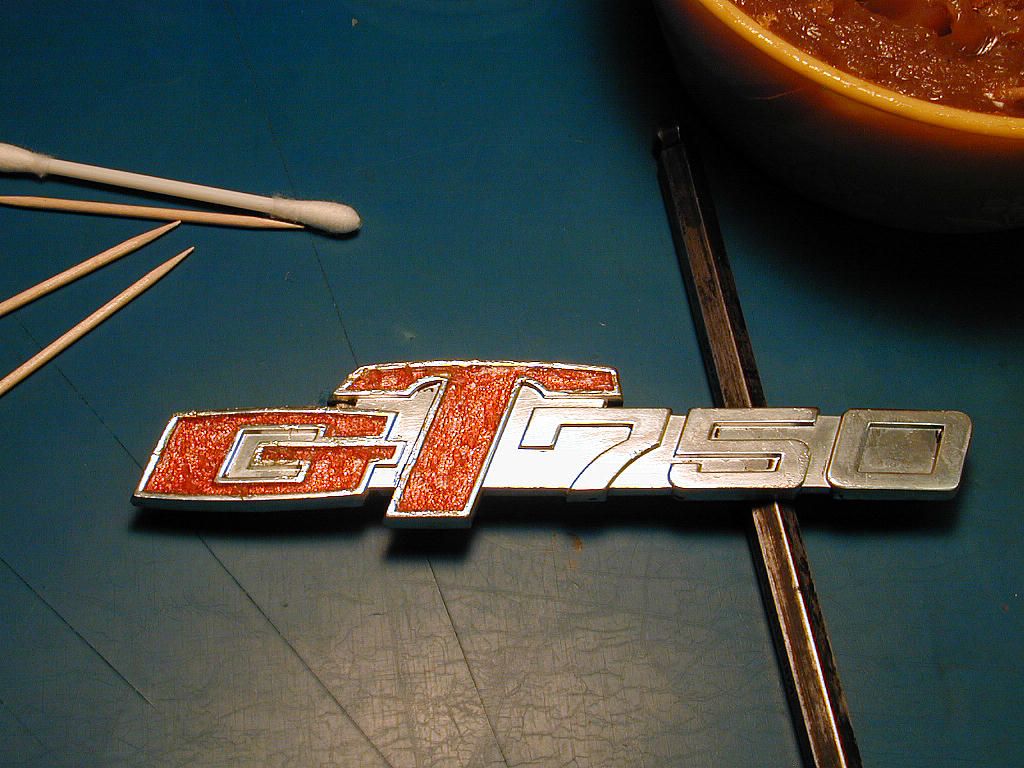
Now comes the tedious part. I covered all the orange with general purpose grease. You can see I got some on the chrome part. That was removed with a sheet of paper taped to a sheet of glass and moistened with lacquer thinner. Then I simply dragged the badge across the paper.
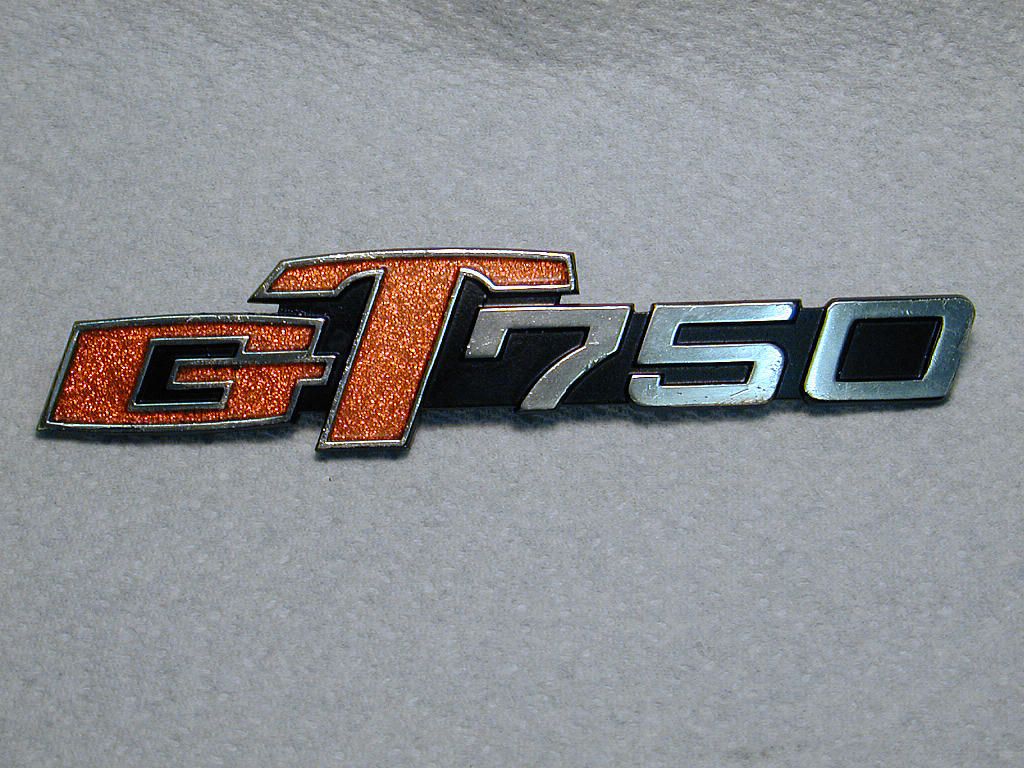
Now I failed to get photos of a few steps. I shot the entire badge with semi gloss black. I let the paint dry for about 20 minutes. Then another sheet of paper on the glass moistened with lacquer thinner. Drag the badge across the paper to remove the paint from the protruding numbers and from around the GT. Then I let the paint dry for a couple of days. Then I simply mopped off the grease I had applied earlier with some Q-tips. Viola! Good enough for the girls I go with.
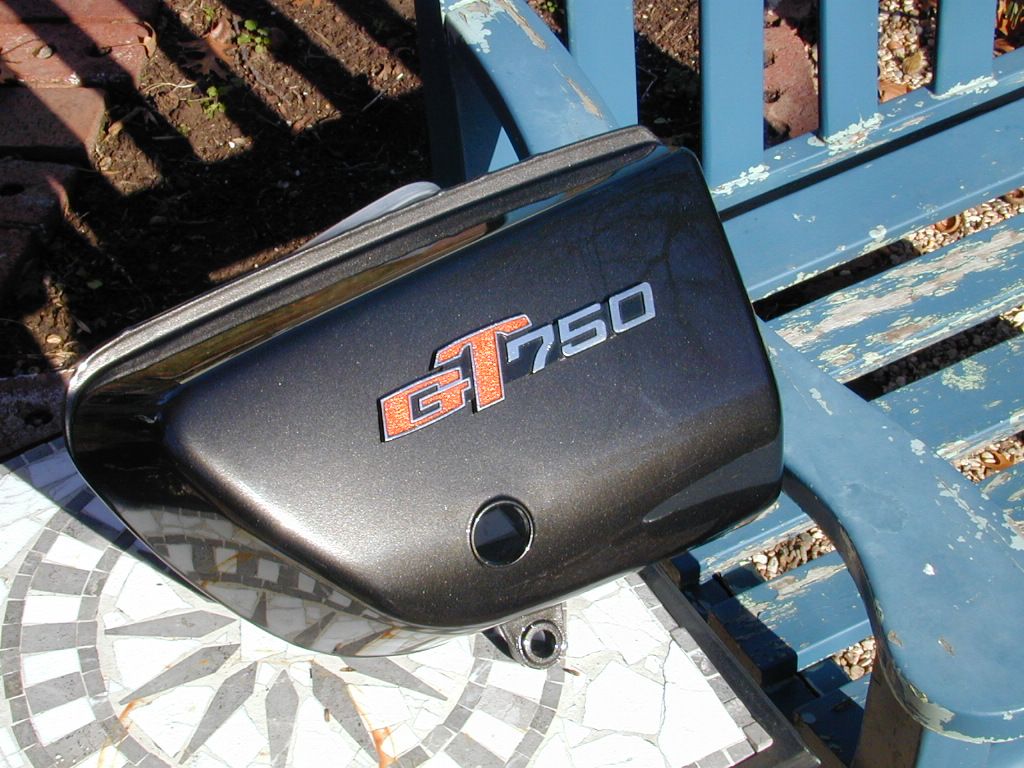
Installed
I was born with nothing and still have most of it left.
That is the technique we used -were told to use- painting Jeeps in the Army. Smear axle grease over the headlights, taillights, instruments - remove the seats and paint. It turned out surprisingly well after the grease was wiped off. Your badges look great.
I have some of those badges with decent metal flake in the GT sections but the faces of the lettering is scratched somewhat. I plan to sand the faces on glass with #1000 to get to smooth new material, then go to finer and finer paper up to #3000.
Once thats done then its onto some polishing next to bring back the shine, then clear coat them to seal the aluminums finish.
Finally the semi flat black will be put in after its cured as if its put in before, the clear will make it shiny as well.
The first pic shows one of the badges, the second shows the first stage of getting the faces smooth with the #1000 grade paper on some glass.
Make sure you have the badge as straight as possible along its length before any sanding is done.
You do not have the required permissions to view the files attached to this post.
Chris I had some time today so I did a side cover badge today as a test and its done and curing up well. I noticed that putting a piece of blue Scott shop towel under the sheet of paper works a bit better as it allows the paper to "give" a bit and follow the contours of the badge, especially around the edges.
I used gasoline instead of the thinners since it lingers a bit longer on the paper, and since you've done some you will know the exact amount is crucial. Not enough liquid is just as bad as too much so you sort of spread it on and wait for the saturation/evaporation to become the correct amount.
Heres how one looks now, I chose to use semi gloss black instead.