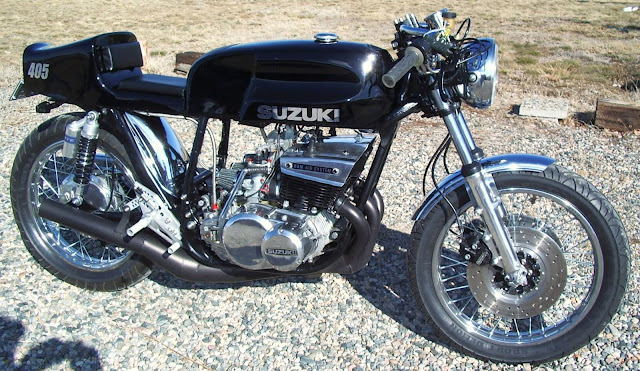
Ok, just updating the status of how things are progressing. With teaching full time and w/ the emphasis on Automotive Technology, most work on the bike is done after hours and/or on my own time now.
So, we got the engine apart on the '72, not looking good.
Piston #3 (the rightmost when sitting on it) was stuck and it's rod stiff on the crank.

We got it freed up and found some corrosion/build up on the skirt of the piston (you can see that in the picture). We were able to free up the rod w/ some penetrating oil on the crank.

You can also see the dryness of it's counterweights and case.
We took the case apart and found the lower SRIS port on the plagued cylinder plugged with schmut.
The crankshaft seal between 3 & 2 had it's garter spring flopping around on the crankshaft, alone with a remnant of the seal. (sorry, I'll have to get pictures of that, thought I had some but evidently don't -yet).
My students cleaned the cases, and they came out nicely.
The '72 engine isn't going to be used in the project but it's purpose is mainly a practice run to refurb the '74s engine.
The shiny bits of the motor are covered with a clear coat that has LONG yellowed and cracked. This allows corrosion to go unchecked under the surface and greys the metal.
Here's a shot of the RAM AIR shroud before stripping:

Here's after:


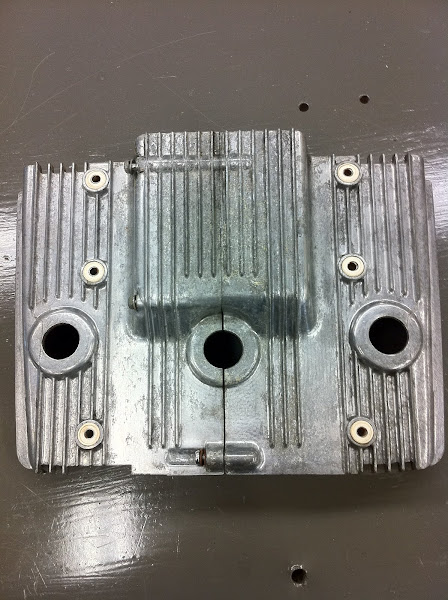

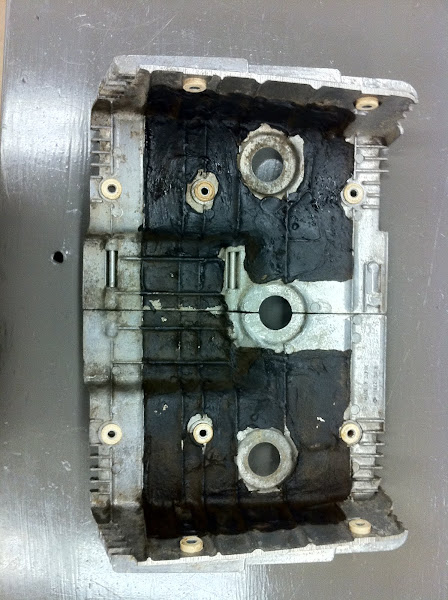
So after seeing the results of a little time with stripper (Tail Stripper II (aircraft stripper) from NAPA), I went after the rear wheel.
I removed the wheel from the frame, removed the drum brake and sprocket hub.
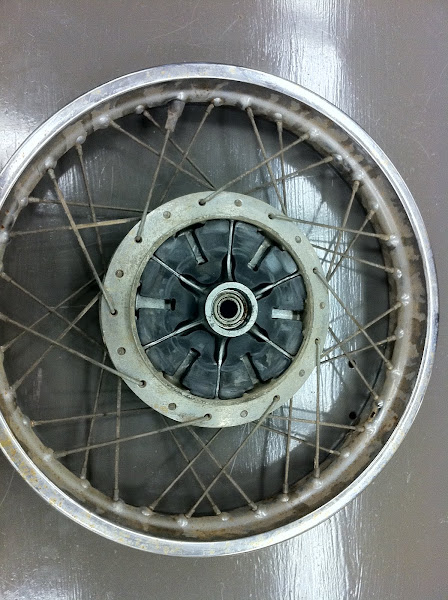
Real crusty:

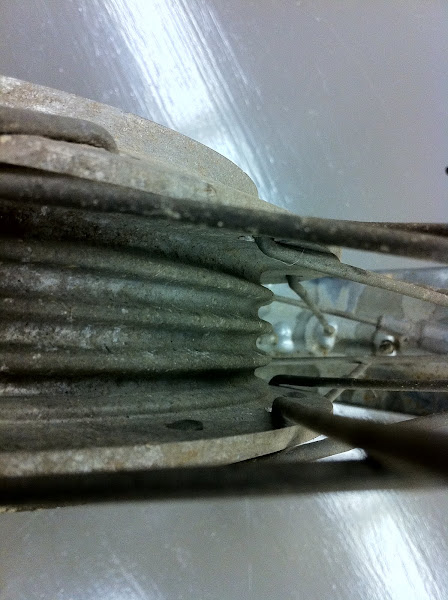
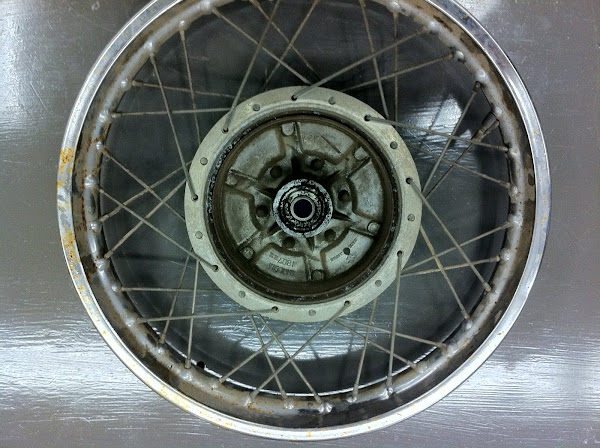
I removed the spokes (replacements soon to be ordered).
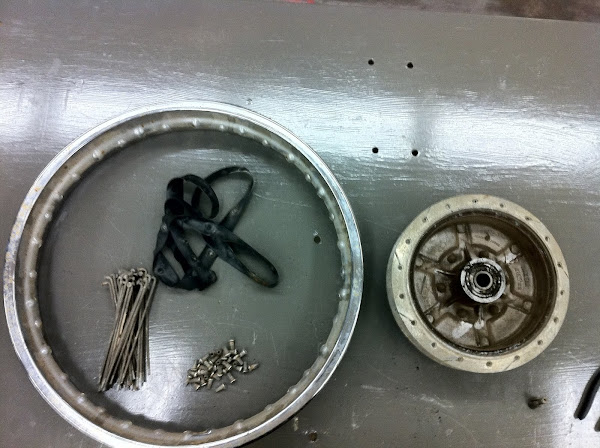
Here's the rear hub prior to anything:

Here it is just after the being stripped:
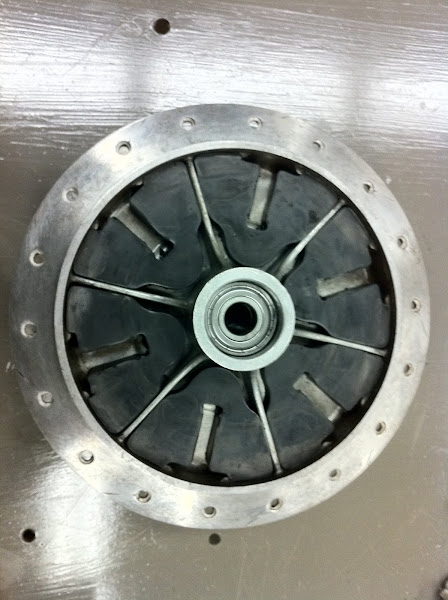
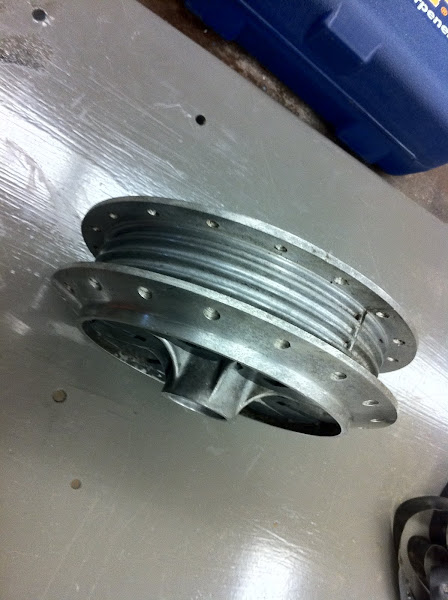

After being stripped, I took to polishing it. Some of the corrosion has left permanent staining and most
likely will take wet sanding to remove (not interested...).

I also stripped and polished the sprocket hub.
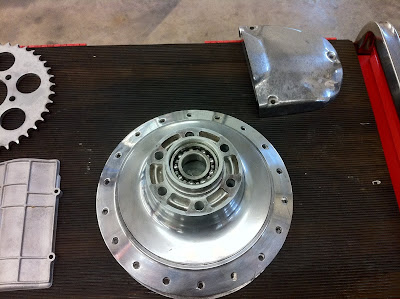
And the rear drum over (only 1/2 done in this picture).
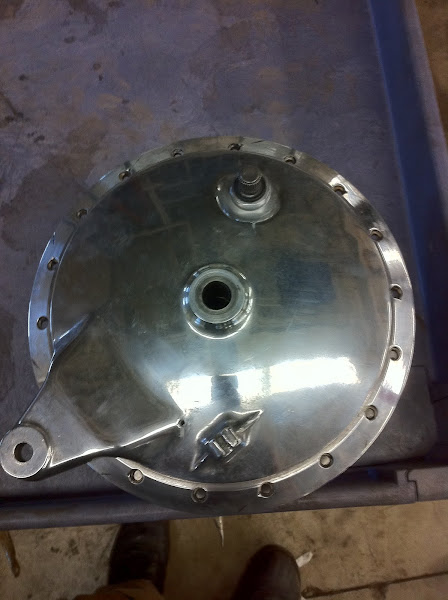
I liked how they came out and went after the front assembly then too:
Here's how it's looked for the past umpteen years:


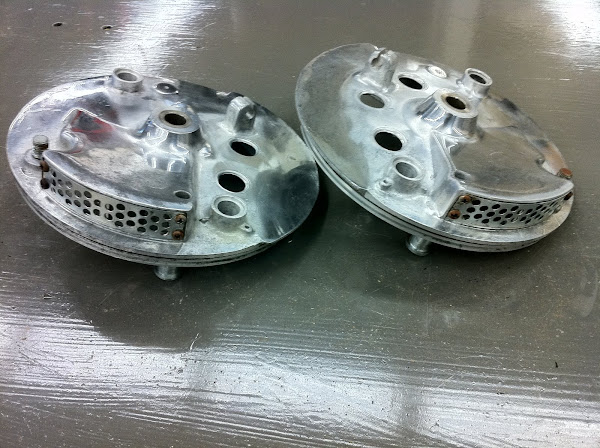
I wiped off the front drum assemblies and applied stripper:


After stripper. Still need polished.
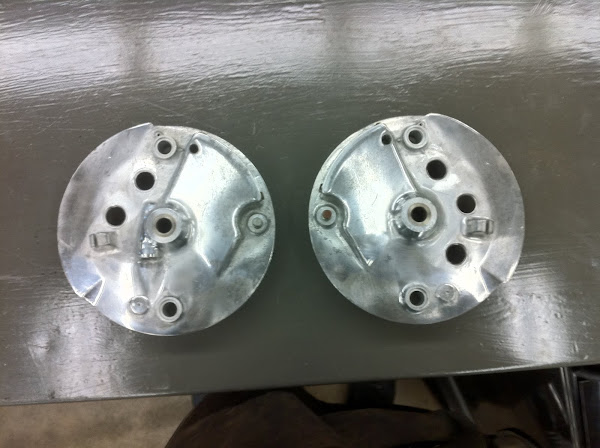
Shoe side:

The came with sealed duct covers, what purpose they served being sealed is beyond me. Ok, so they may keep water out, but shame on you for riding in the rain! So, I removed them and found under them these holed covers. So I left them on. I'll replace the screws w/ shiny new ones. (BTW, there are NOS "vents" on ebay for $139!!!@?! (
http://cgi.ebay.com/ebaymotors/72-Suzuk ... 500wt_1184) They aren't even vented! ) Dumb. Ok, heres the picture:
I then went after the front wheel. Here's a shot before disassembly:

The rim is in decent shape, probably due to all the fork oil dripping on it over the years.


Another, just the way it's sat for the last 20+ years.

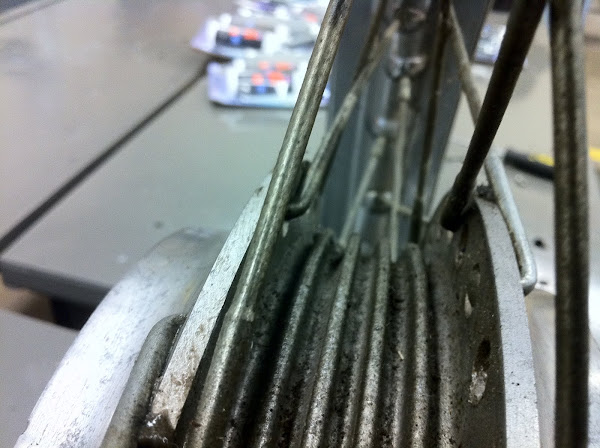
Spokes removed, post-stripper, hub only:
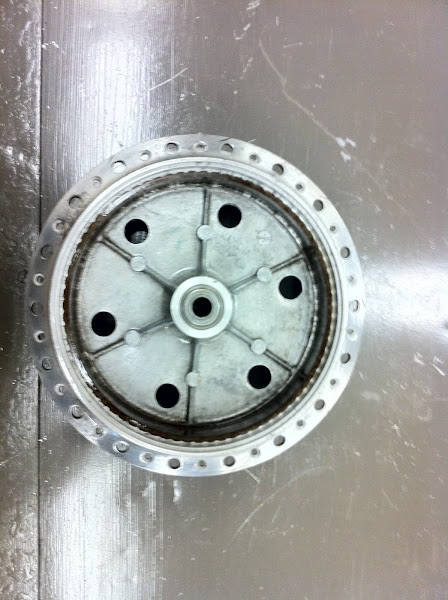
Other side:
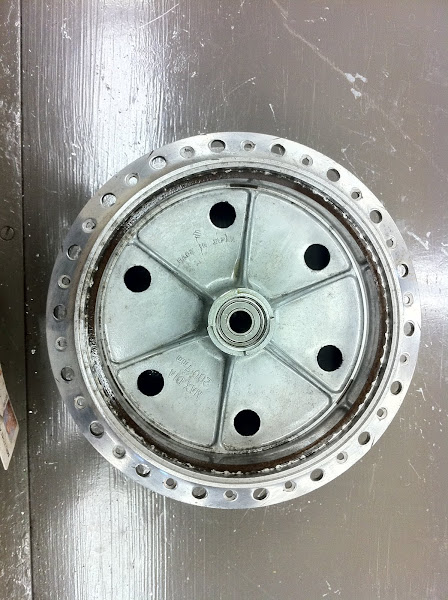
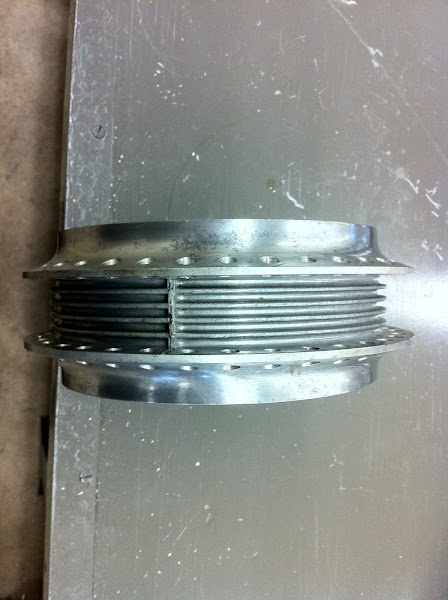
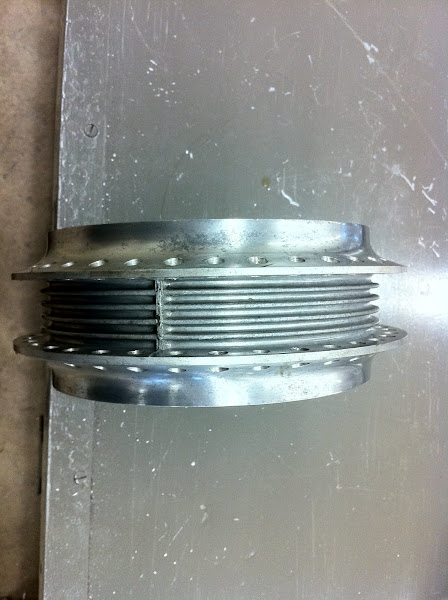
After some polishing.
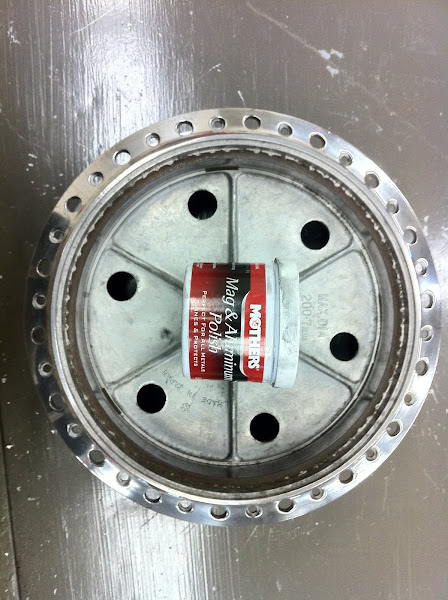

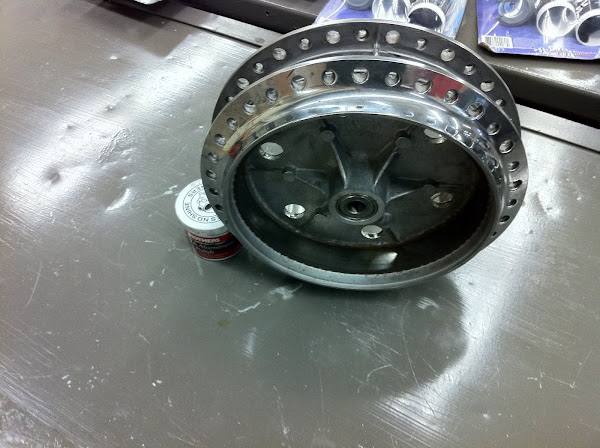
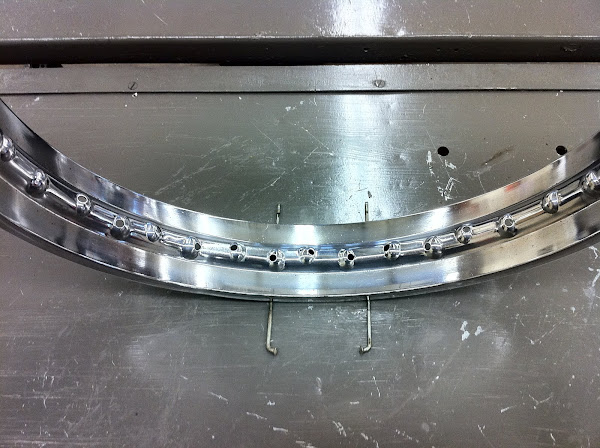
So, I have the raw rims now.
Shot a blurry shot up over my head to try to capture a side-by-side comparison of the front & rear.
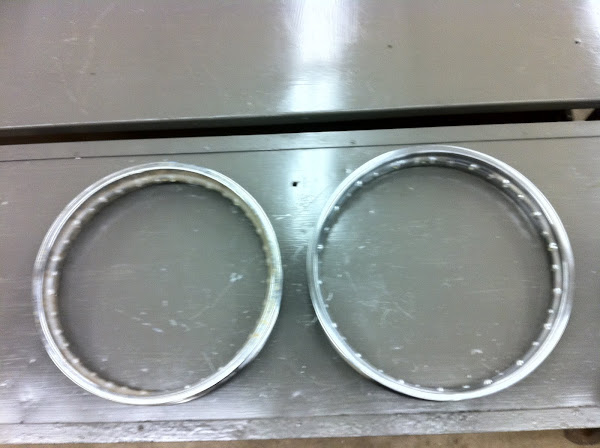
After some pblaster, elbow grease, & 0000 steel wool I got this:
(rear on top (before), front on bottom (after))
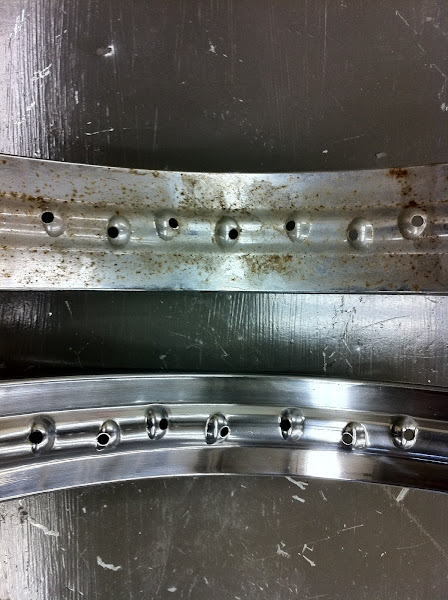
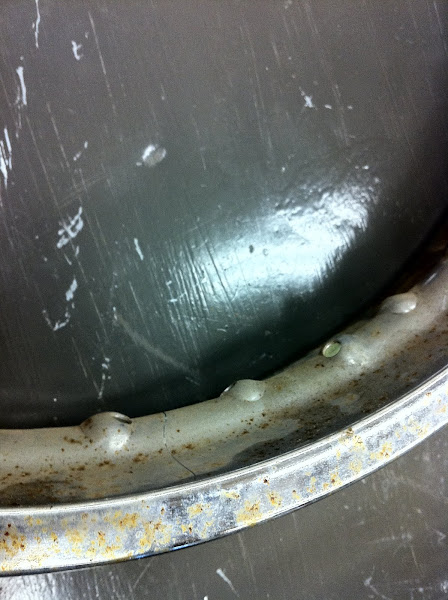
Close up of the rear prior to any attempt to clean it up. I wasn't too hopeful as it was pretty rusted.

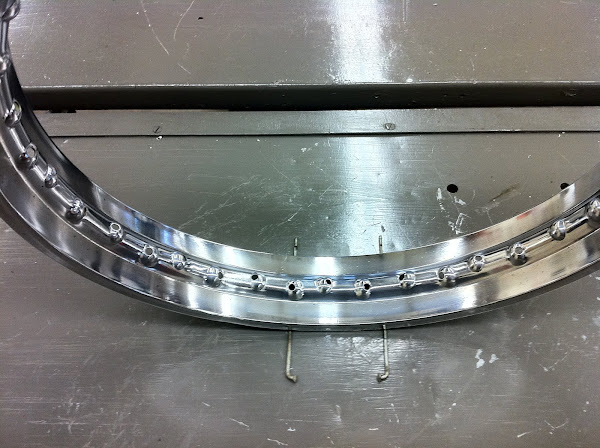
Well, pretty pleased with the results:

I'm on a negative budget. In other words, I'm trying not to spend ANY thing, unless completely necessary (ie. crank seals & case seal/gasket kit; carb rebuild kits; headlight assembly; spokes & nipples; clip-on bars; & turn signals not included)
So, I'm loving the larger tanks found on most cafe racer bike, problem is, I'm not paying what they cost! So in that mindset, I've got to work w/ what I've got.
Here's what I have:
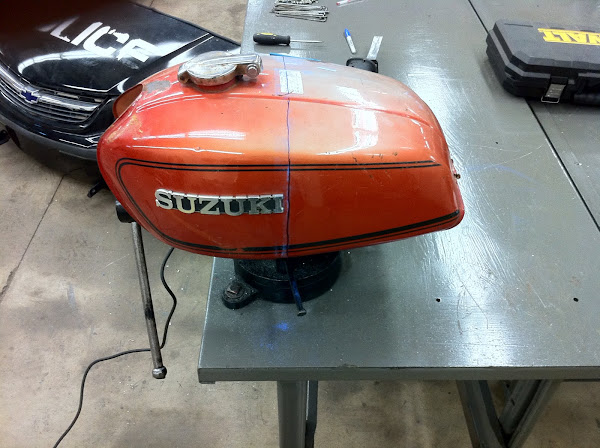
A spare tank w/ lots of rust on the outside.

The line? Well....

Here's where the stock tank ends and where a mock (real stretch of that concept) seat will take form.

So, I trimmed out the underside of the doner tank and slipped it over the other tank:
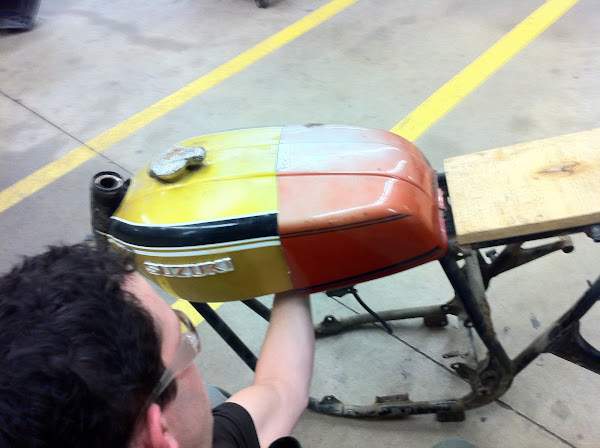
Stretching the tank, keeping the rib on the top too:
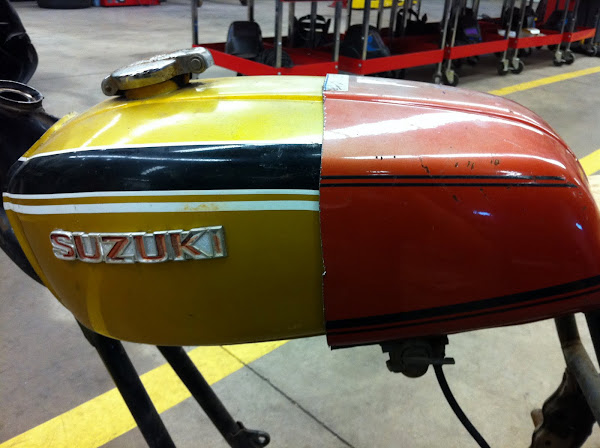

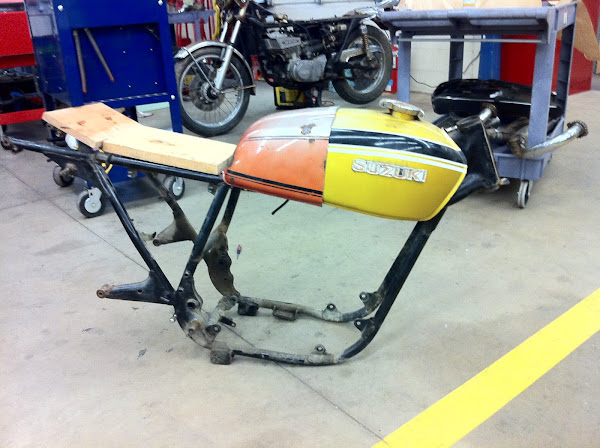
(poor '74, being cannibalized sits quietly in the background. I fire it up every Friday just to give me some ambition to spur me on)
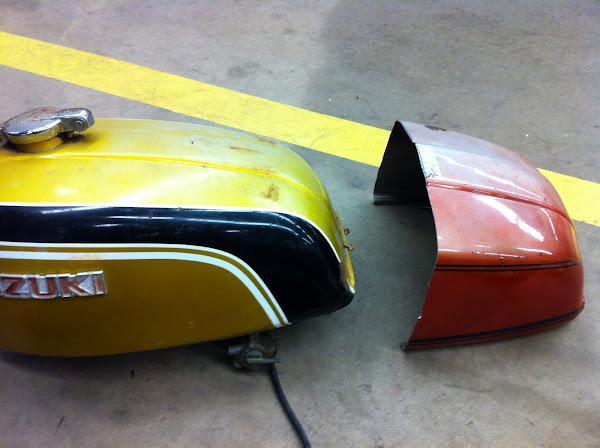
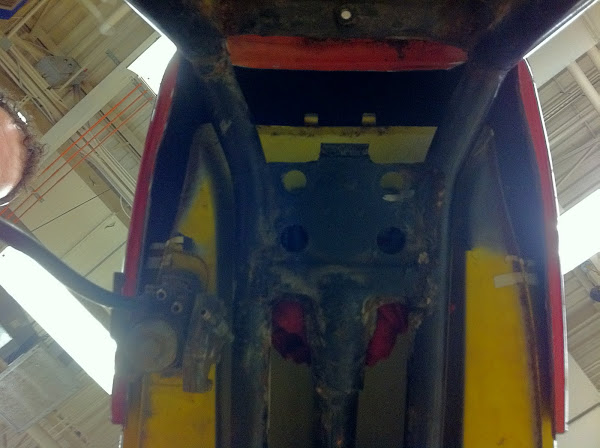
A shot from underneath shows the gap from the old tank to the extension. May get larger and be used to house some wiring:
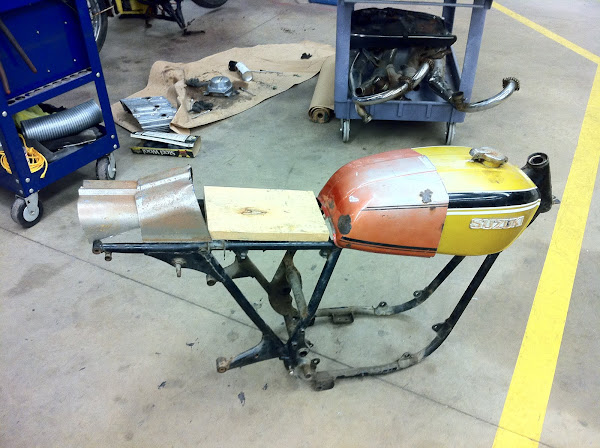
So I'm looking at the left over of the font & rear of the old cut tank and I see a form that may be used as my tail.
While it's only pictured sitting directly on the frame, I would add 1-3" of sheet metal extending below it's outer edges and thus raising the form up to house a battery & oil tank.
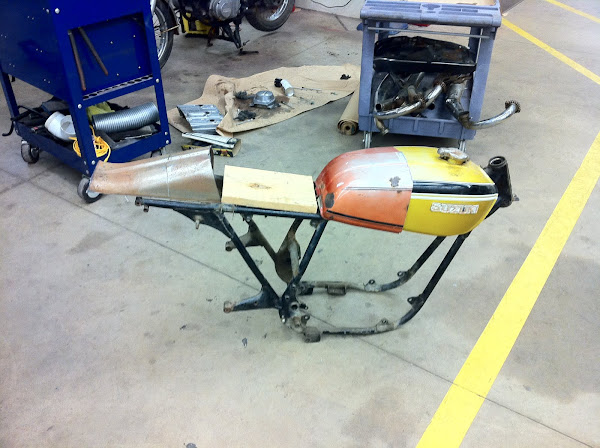
Or maybe this:
That's all for now....
