Here is a bit of useful info about what you can do to make an old tired harness look and work like new again.
In the first part of this set of postings we are restoring a digital gear indicator sub harness for a GT750 of 74 to 77.
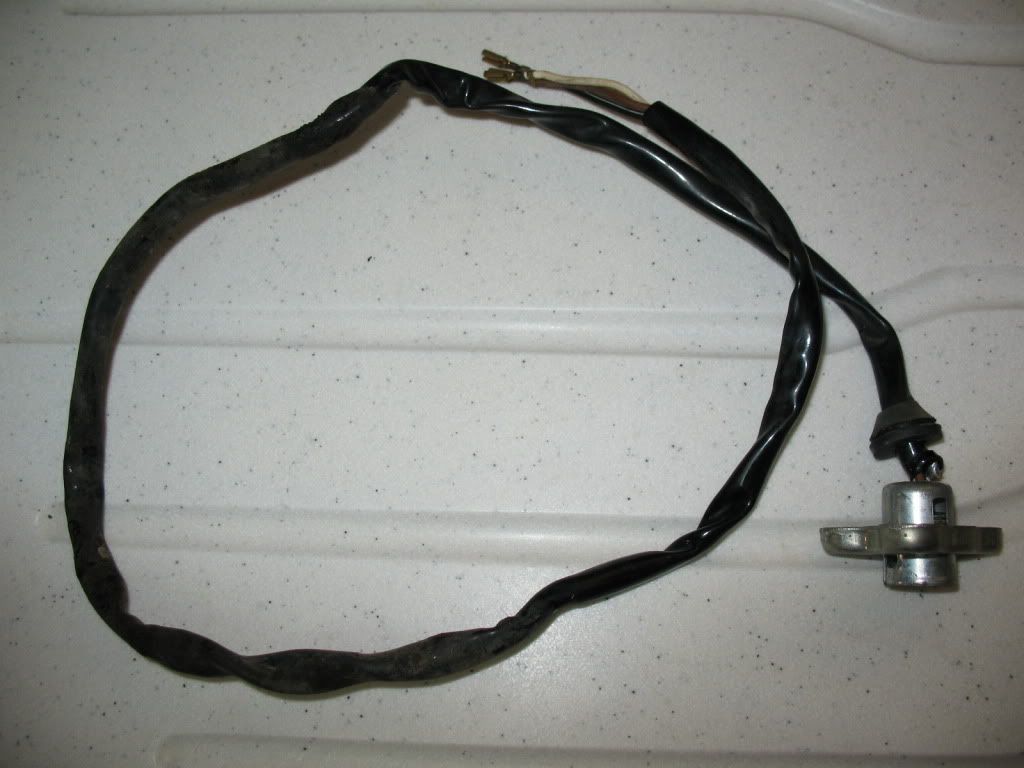
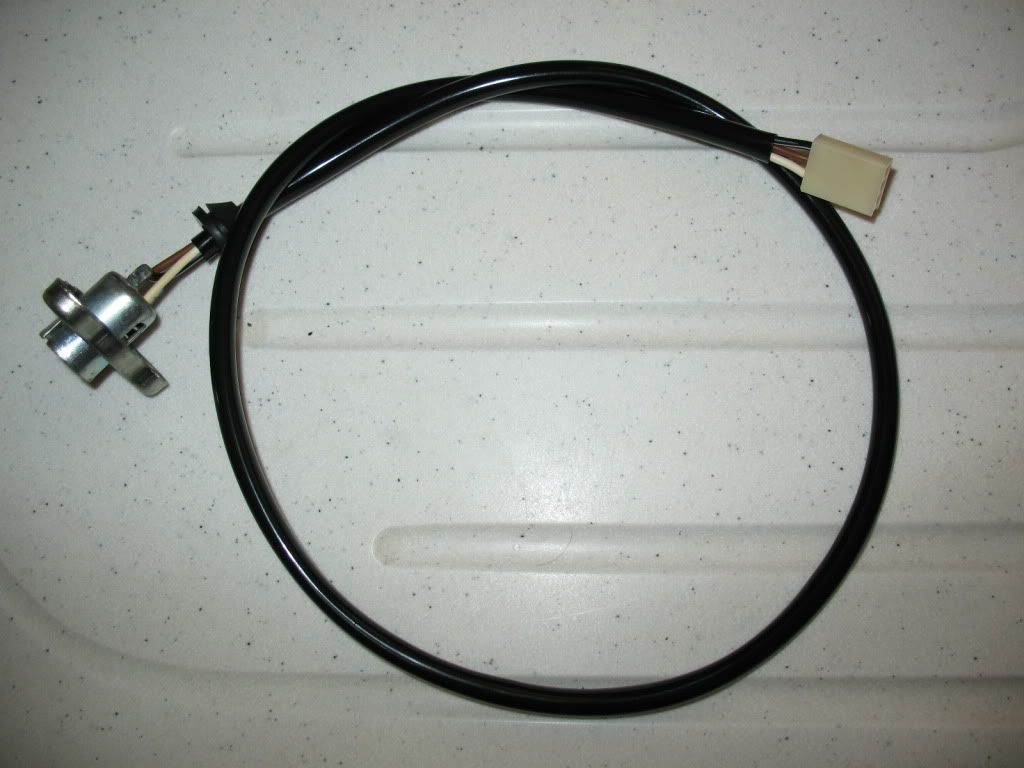
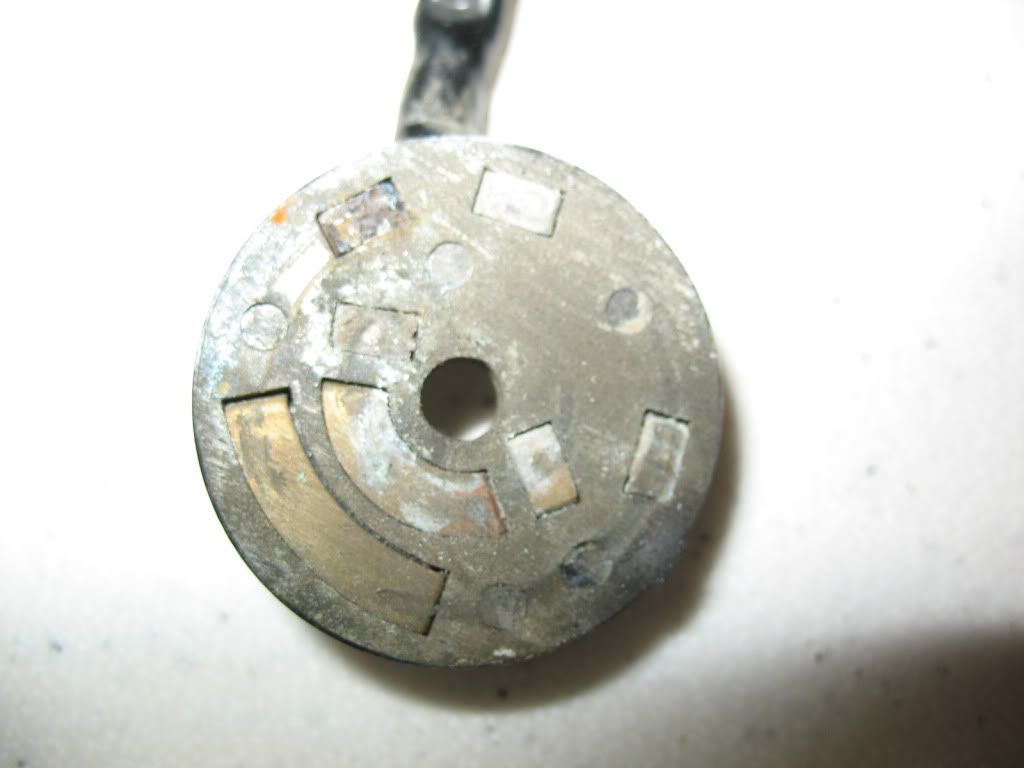
Ok, so here's the poor abused victim, a harness with hard ripped sheathing and a broken connector block, plus some free dirt.

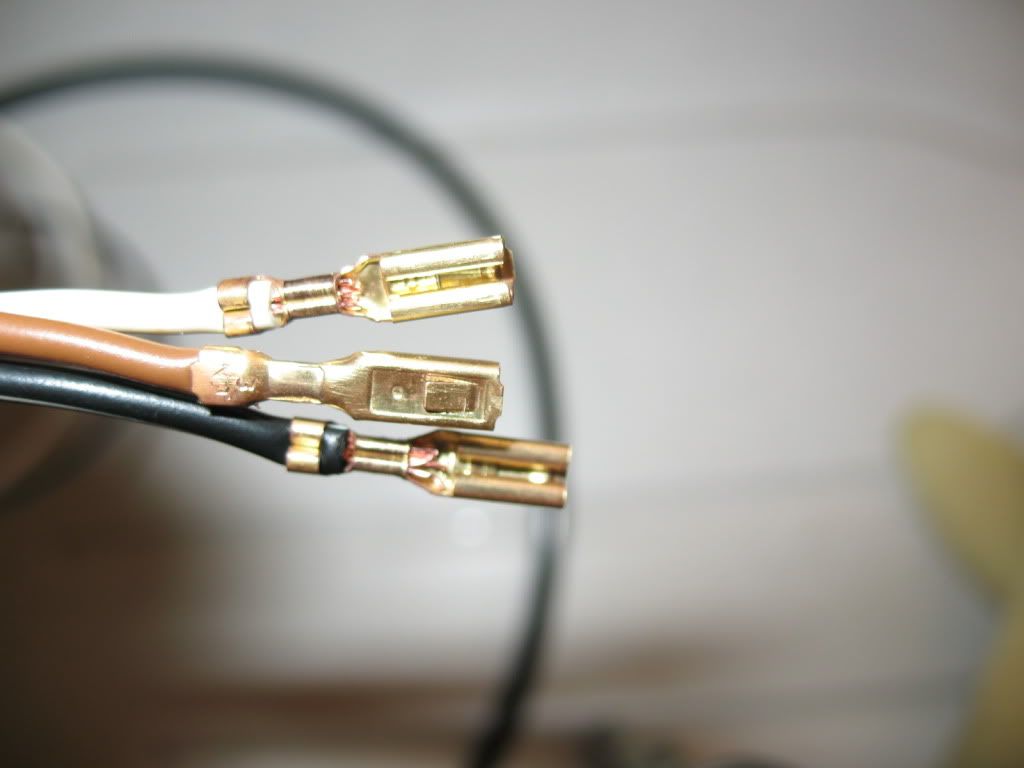
At this point you will check for continuity while bending and twisting the connectors lightly to make sure there's no internal separation at the crimps.
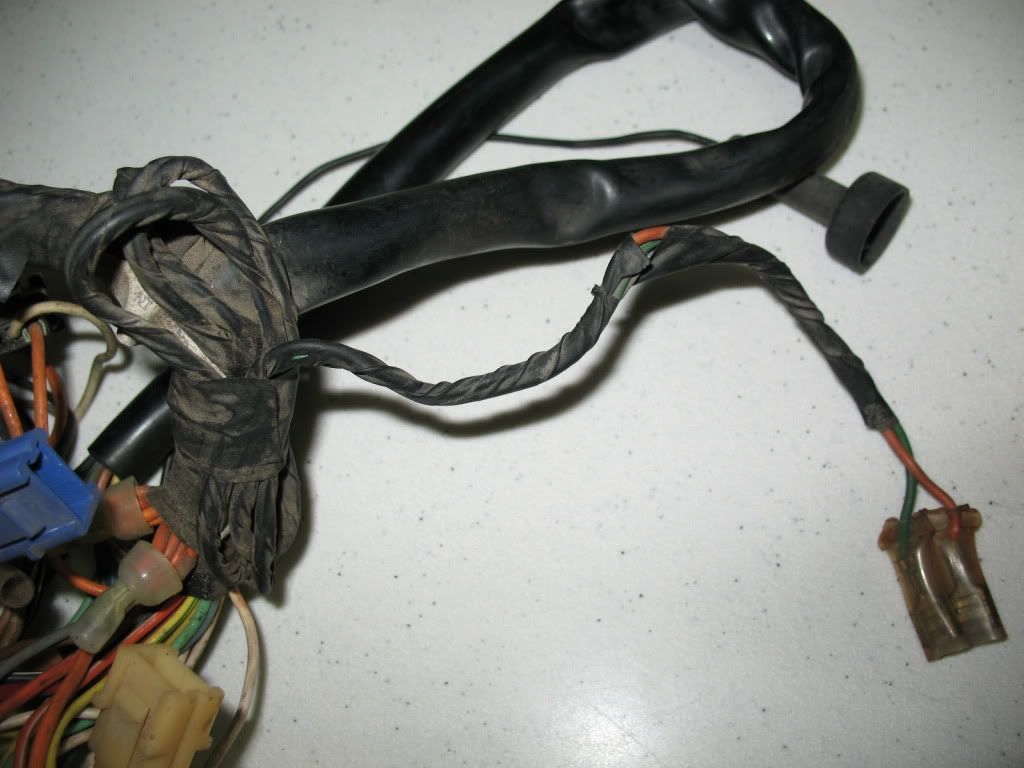
Then you strip off the old sheathing thats usually brittle by carefully using an 'exacto' knife; dont go deep into the sheathing or you will cut into the wire casings.
Measure the old sheathing and add a portion to allow for shrinkage, in this case I added two inches, and since this is a four foot harness I've got the sheathing at 24 inches now.
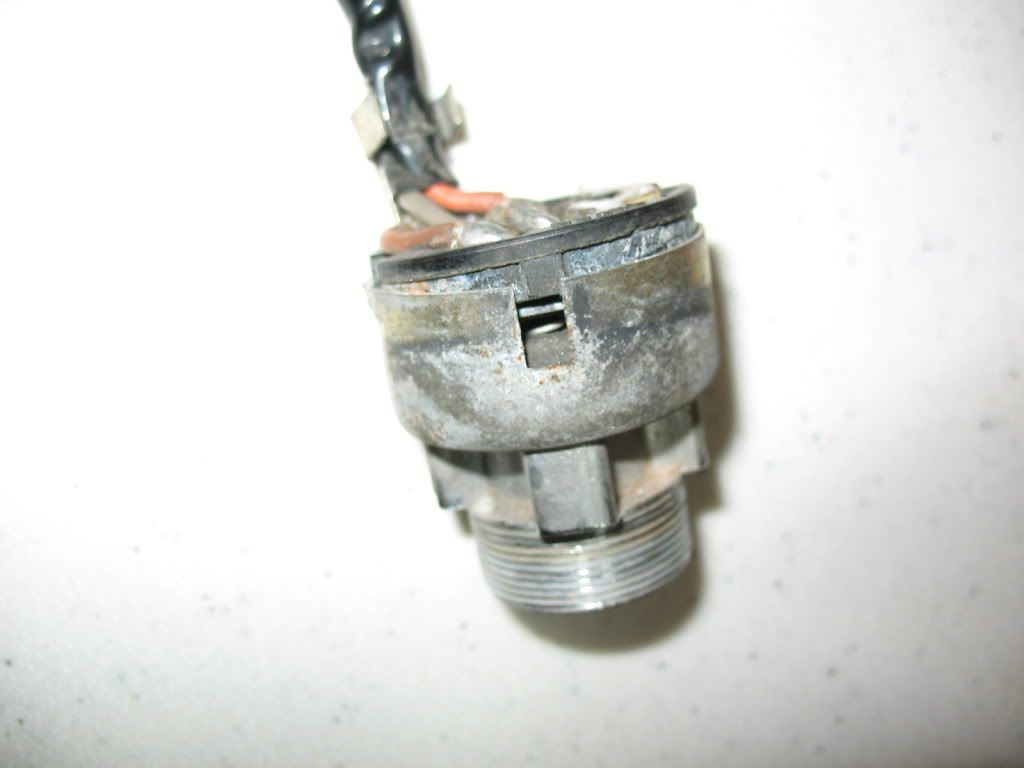
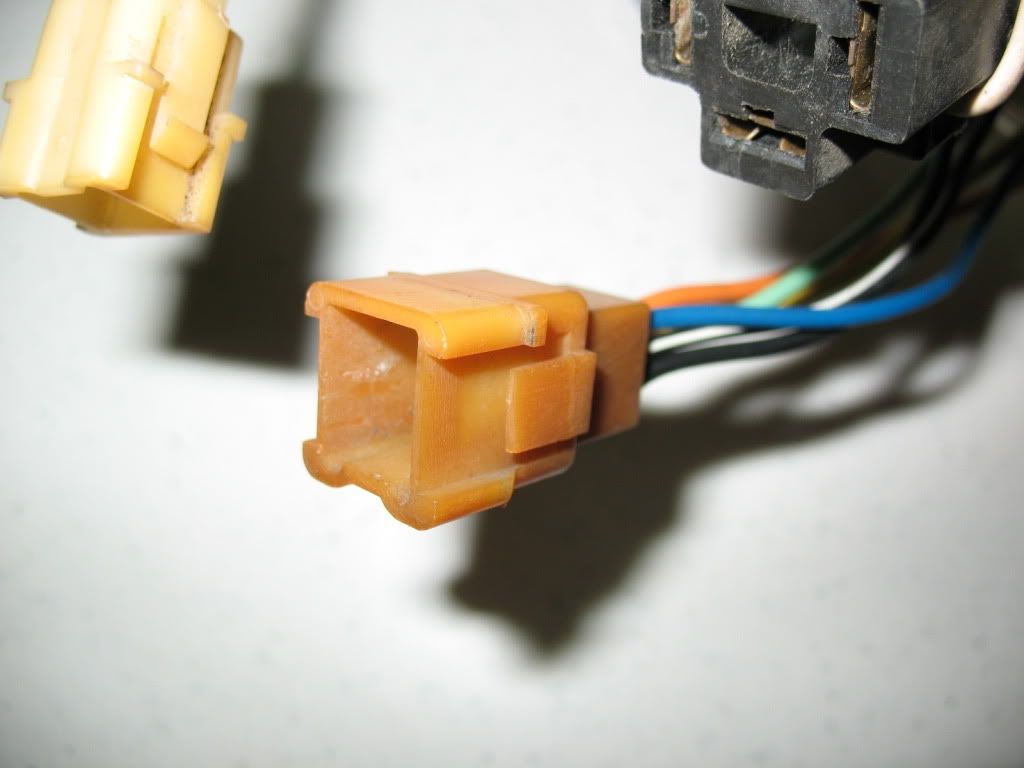
On this one the lower white connector block was brittle and damaged, plus its clips that fit into the frame square loop were missing and no one I know has these.
So,,, I borrowed the other equivalent one from the headlamp bucket harness since it doesn't need the clips up there.
*If you have any continuity issues you need to locate them with a meter or test lamp at this stage*

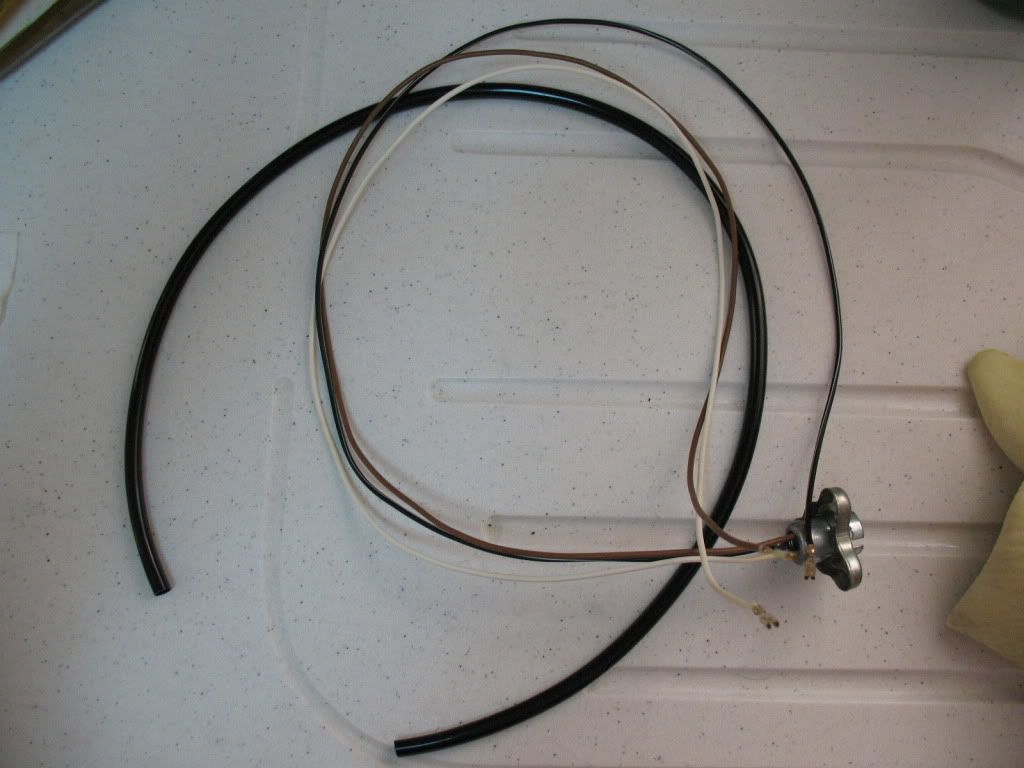
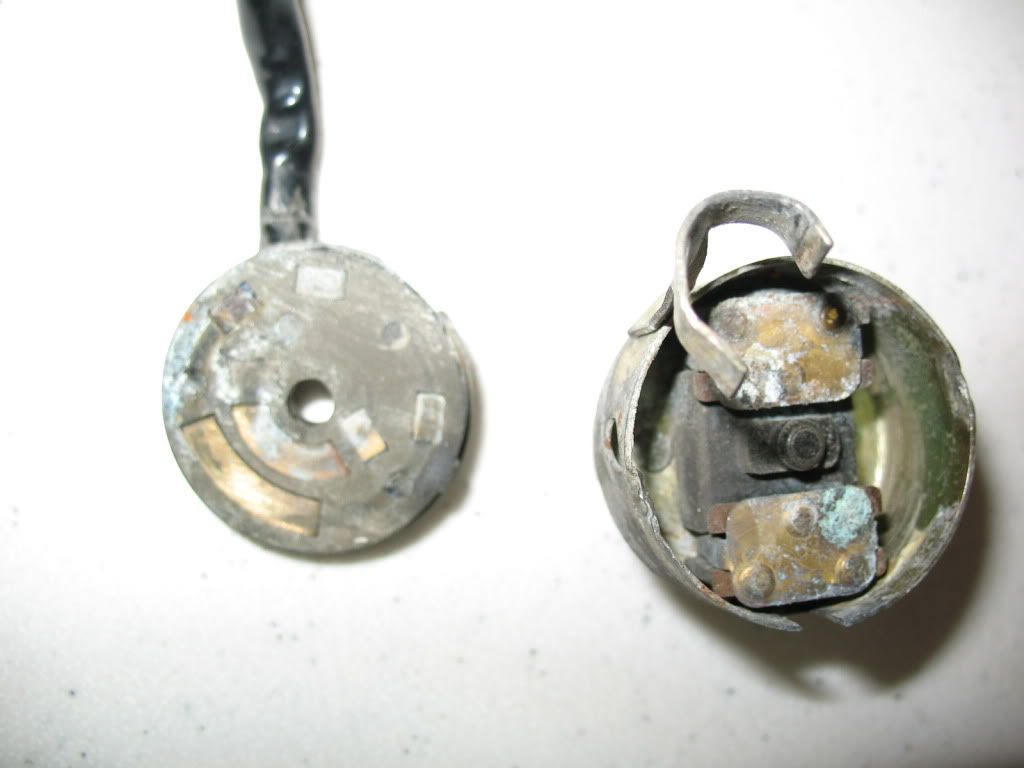
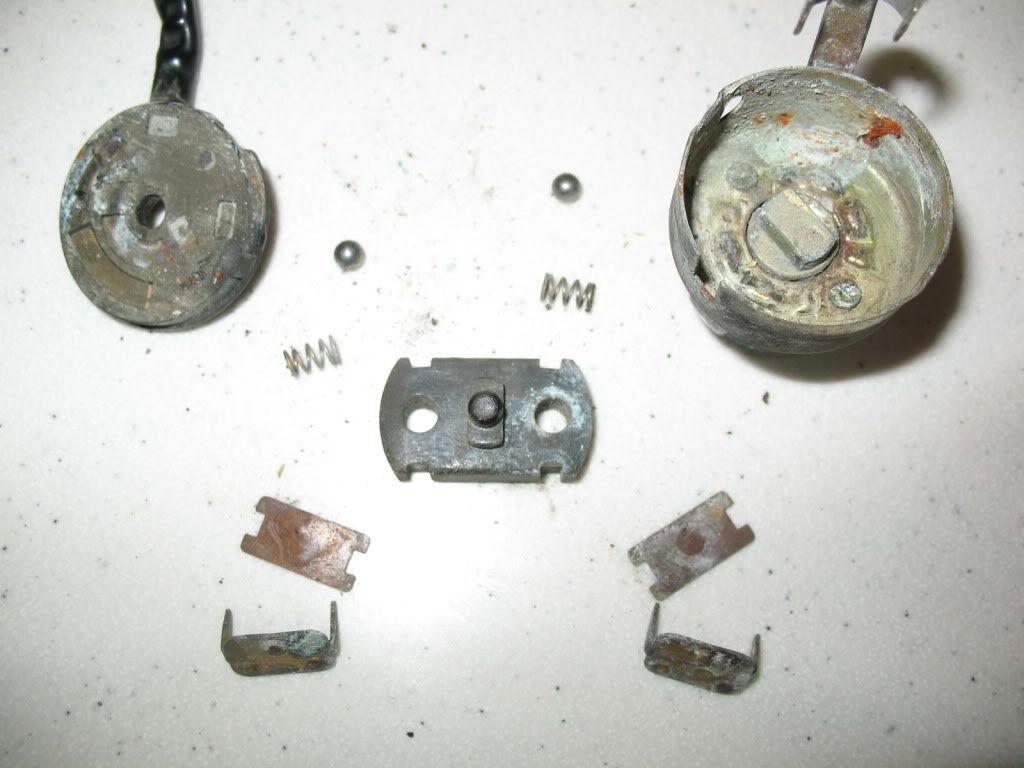
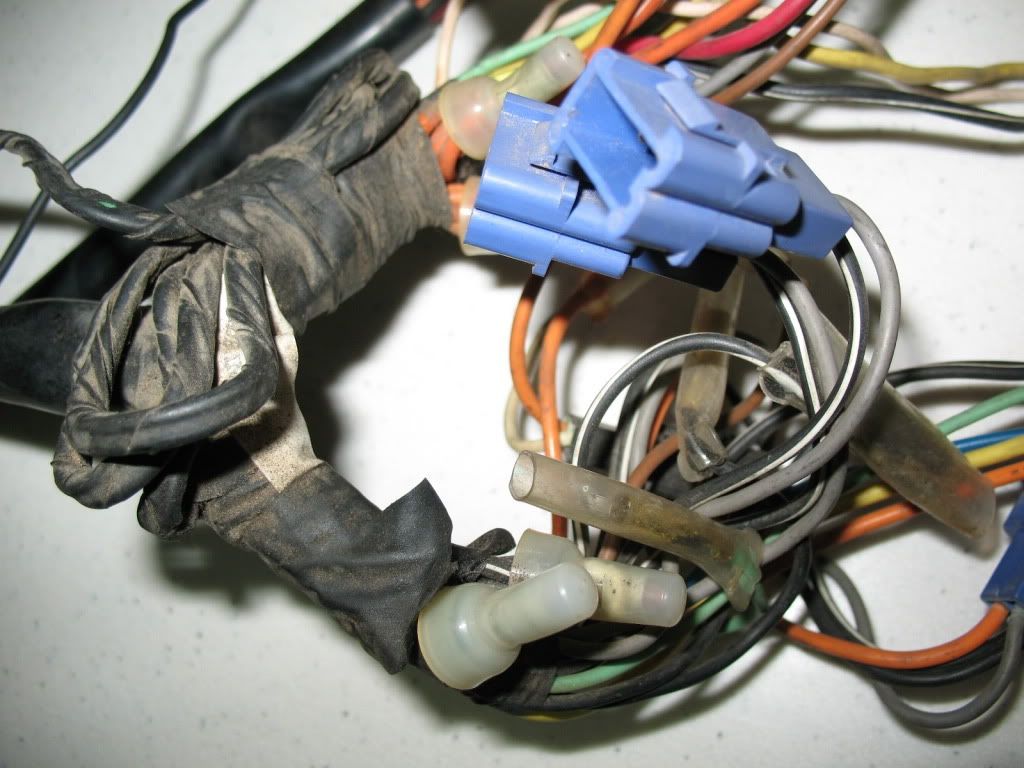
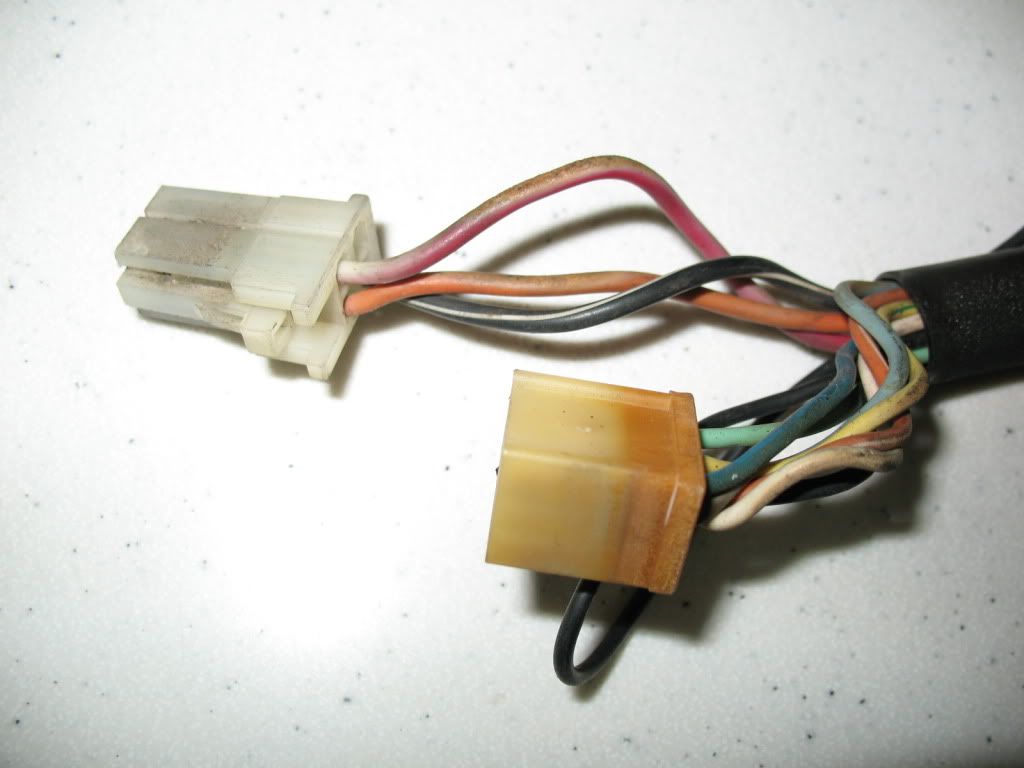
Removing the lower block and marking the wires individual locations, I then wiped the casing wires with thinners to clean them of the old stains etc and this also makes the casings supple.
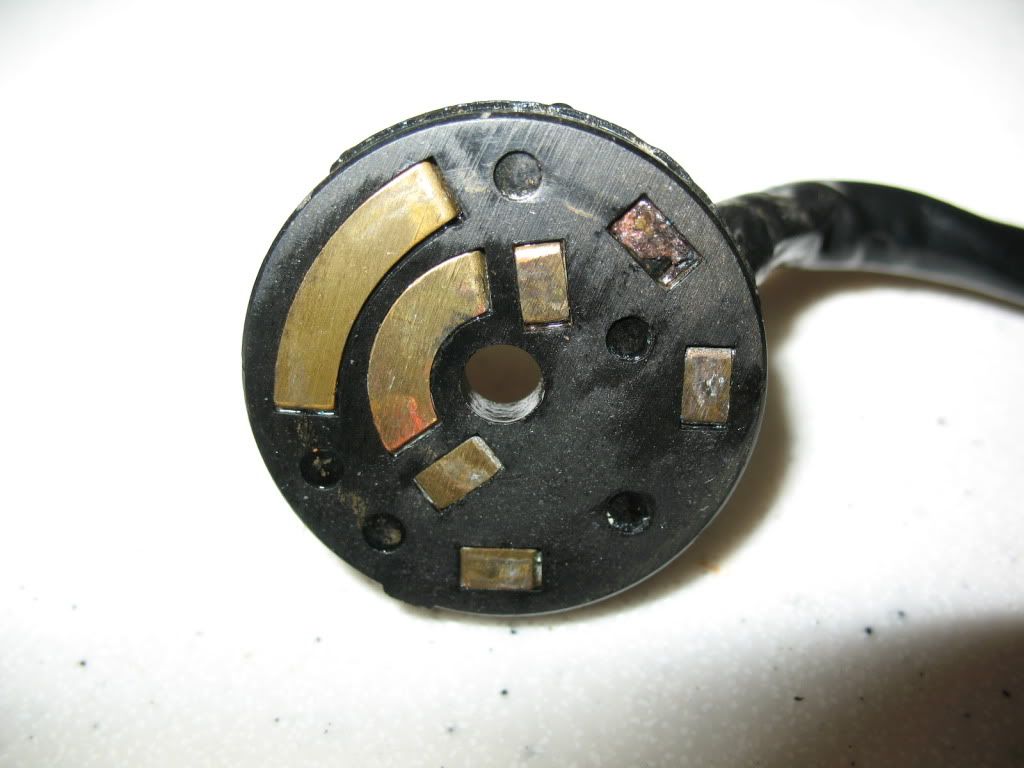
The upper blue block I soaked in vinegar to clean the socket connectors and applied some WD40 to them afterwards. I then polished it up as it was a bit stained; well its got to look 100% for this photo shoot right???
Next up is to put on the sheathing, in this case 7mm gloss black from Vintage Connections is used. Try to keep the wires as untangled as possible and to make it easy, use WD40 to help them slide in better.
Once the sheathing is on, wash off the harness of all the WD40 and dry it properly as its now time to tape it.
Tape the wires in sections at intervals to keep them from shifting, before you start full wrapping.
I like to go one half overlap on my taping at about a 45 degree angle but other people have different ideas on that.

A photo of how the connectors looked after some partial cleaning for the lower white connector block. I went on to clean them up fully using a toothbrush and some vinegar with repeated soaking and brushing to get them clean. Don't forget to bend the retention tangs up a tad to get a decent 'click'

A detailed photo of the blue upper socket after completion of the work.

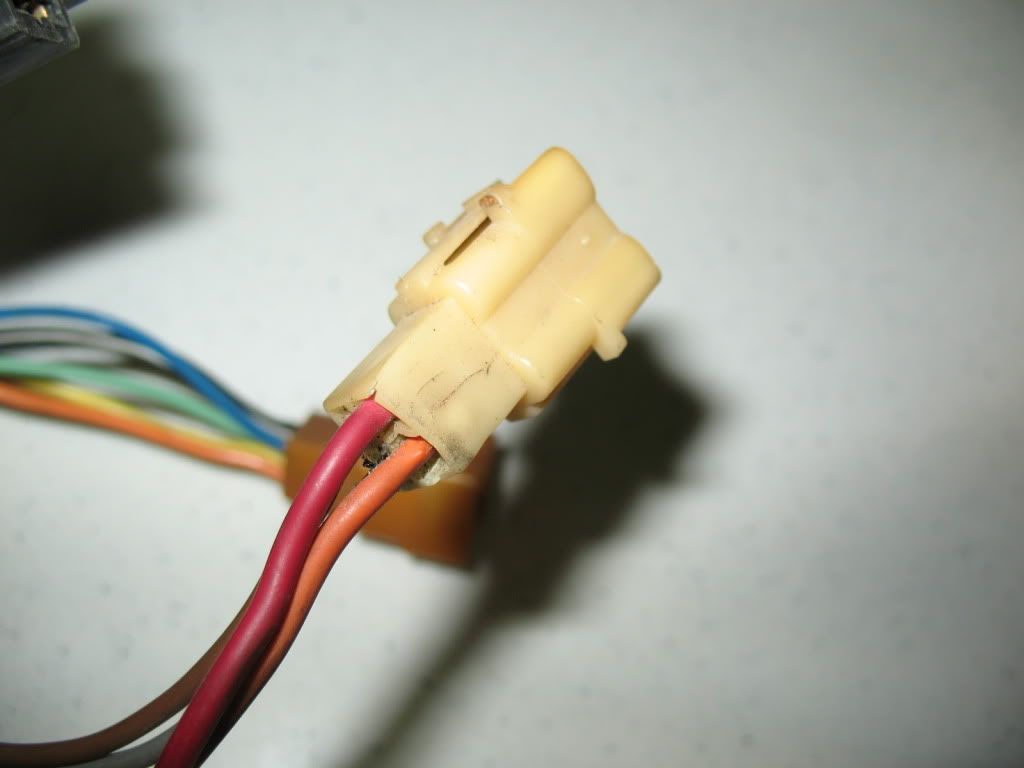
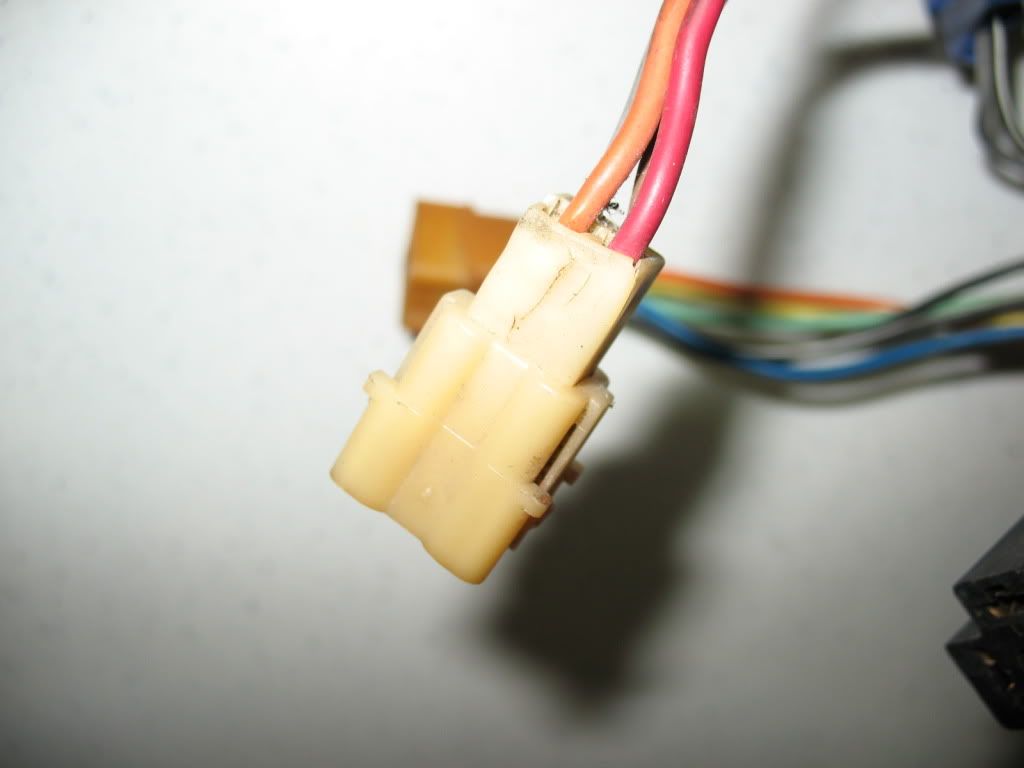
Detailed photo of the white lower socket after completion of the work.

At the lower end I had to align the connectors and this resulted in having to replace one as that wire was significantly longer. This is because of over lapping of that wire in the old original tape wrapping which can create that issue.
The white socket shown here was stolen from the HL bucket, but it will be replaced with a non clip version when that sub harness gets restored.
Clicking in the 'new' used lower white block onto the terminal ends makes the harness look like new again and its very presentable. Dont forget to recheck continuity, its no good going to this work then finding out its got an issue afterwards.
Info you may need
Most sockets and terminals can be obtained from Cycle terminal Vintage Connections or Oregon Motorcycle
Sheathing can be obtained from both of the above, make sure you buy enough of the sizes and lengths you will need for all your harness work.
Tape used is Scotch 33+, the best for most applications such as this.