You CAN do it!
Posted: Thu Jul 19, 2012 8:23 am
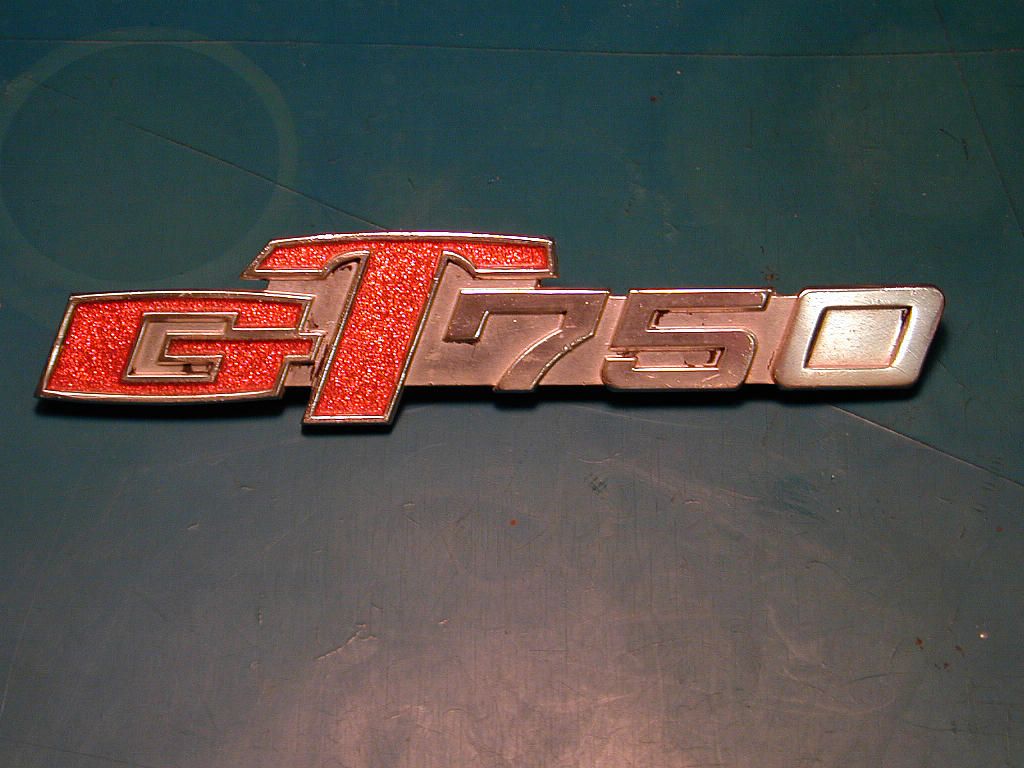
Refurbishing badges. Here's a badge I had that was missing most all it's paint, but the orange flake was still good.
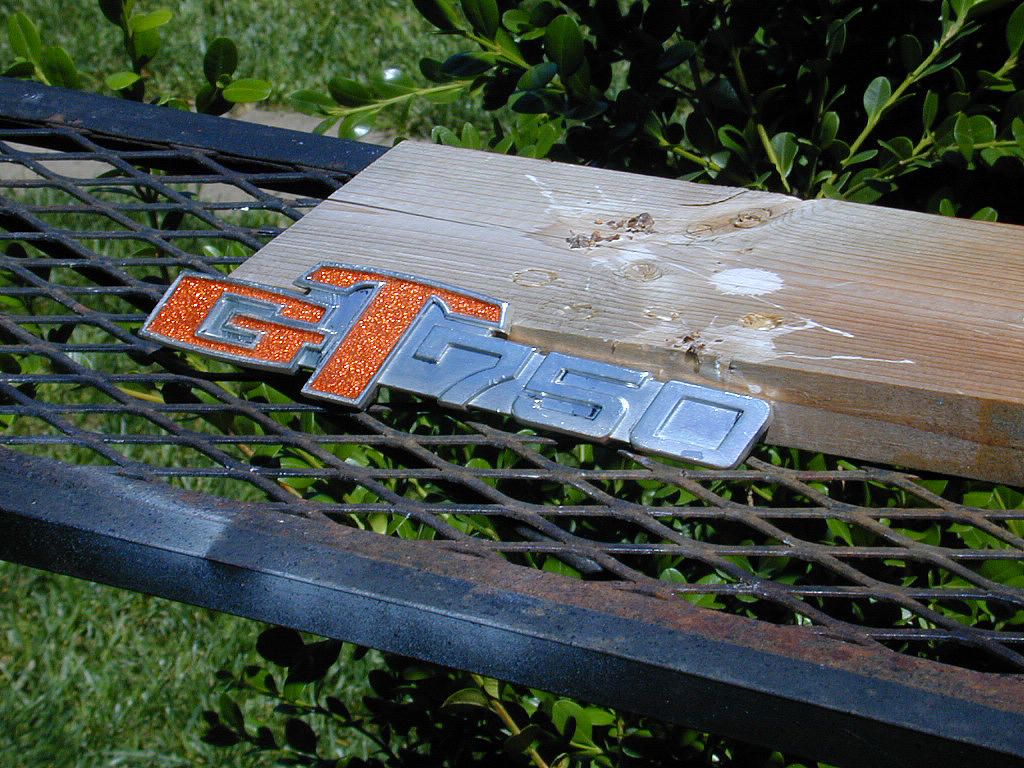
Here it is after washing it down with Simple Green and a tooth brush. Bird poop optional
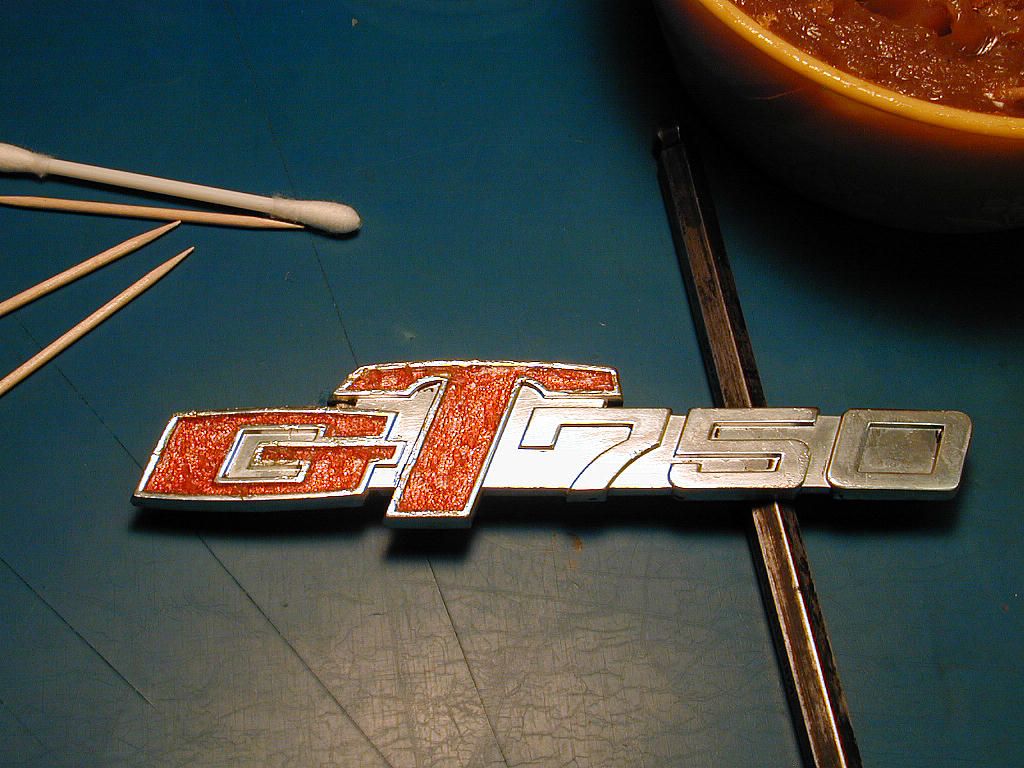
Now comes the tedious part. I covered all the orange with general purpose grease. You can see I got some on the chrome part. That was removed with a sheet of paper taped to a sheet of glass and moistened with lacquer thinner. Then I simply dragged the badge across the paper.
Now I failed to get photos of a few steps. I shot the entire badge with semi gloss black. I let the paint dry for about 20 minutes. Then another sheet of paper on the glass moistened with lacquer thinner. Drag the badge across the paper to remove the paint from the protruding numbers and from around the GT. Then I let the paint dry for a couple of days. Then I simply mopped off the grease I had applied earlier with some Q-tips. Viola! Good enough for the girls I go with.
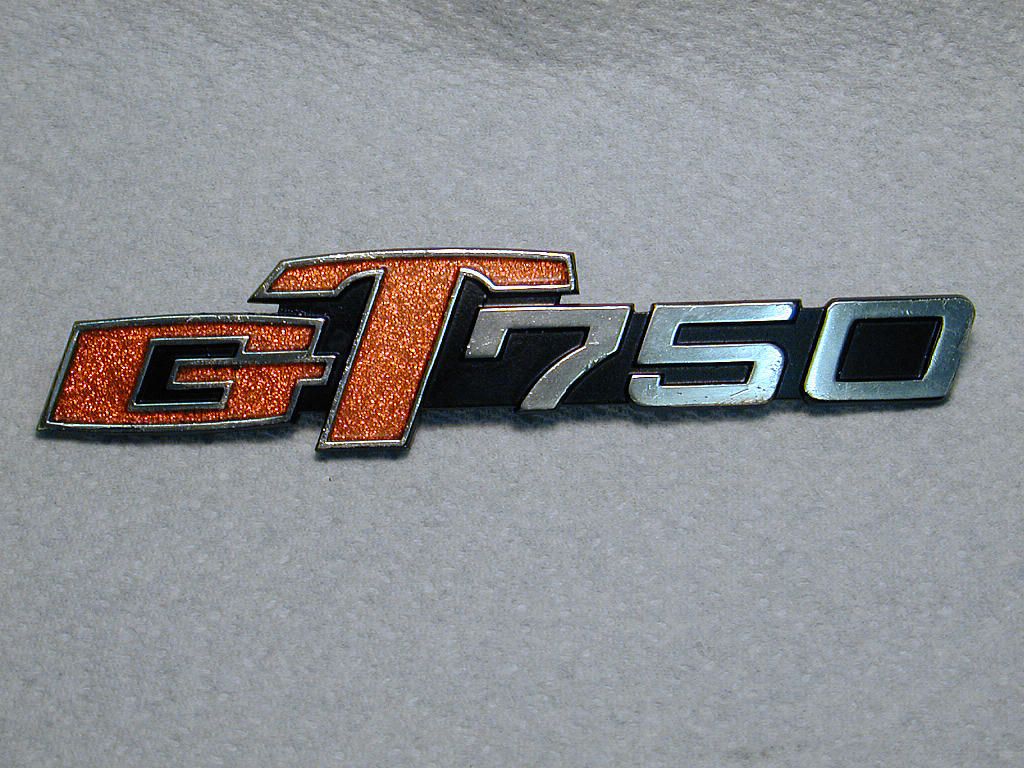
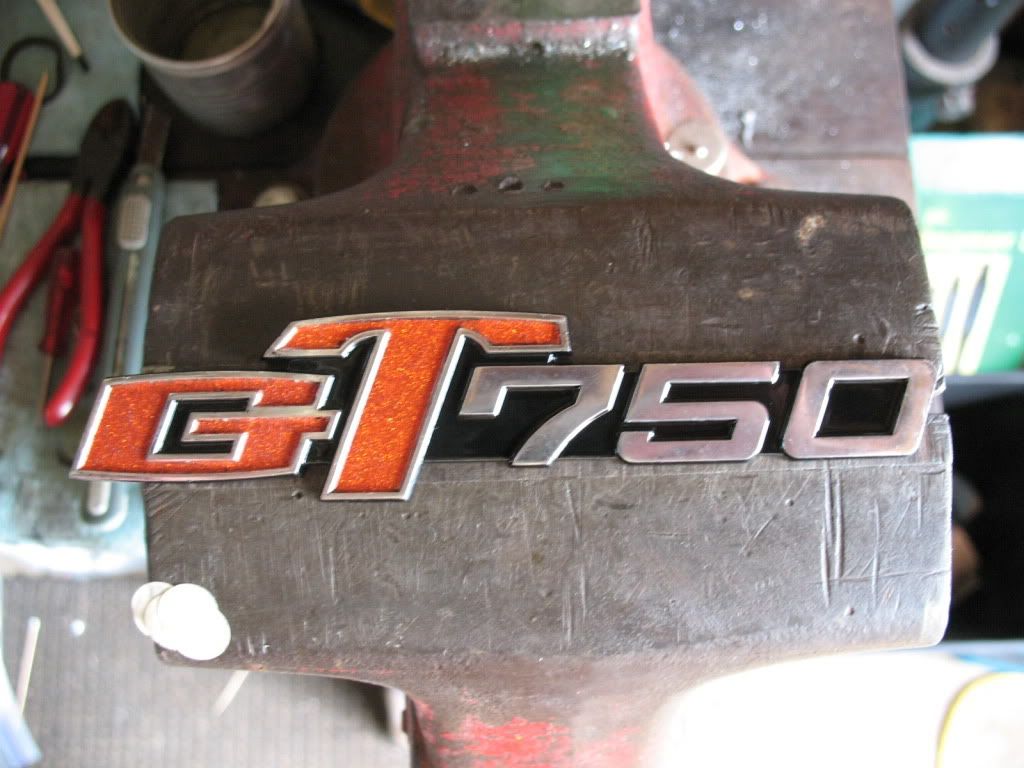
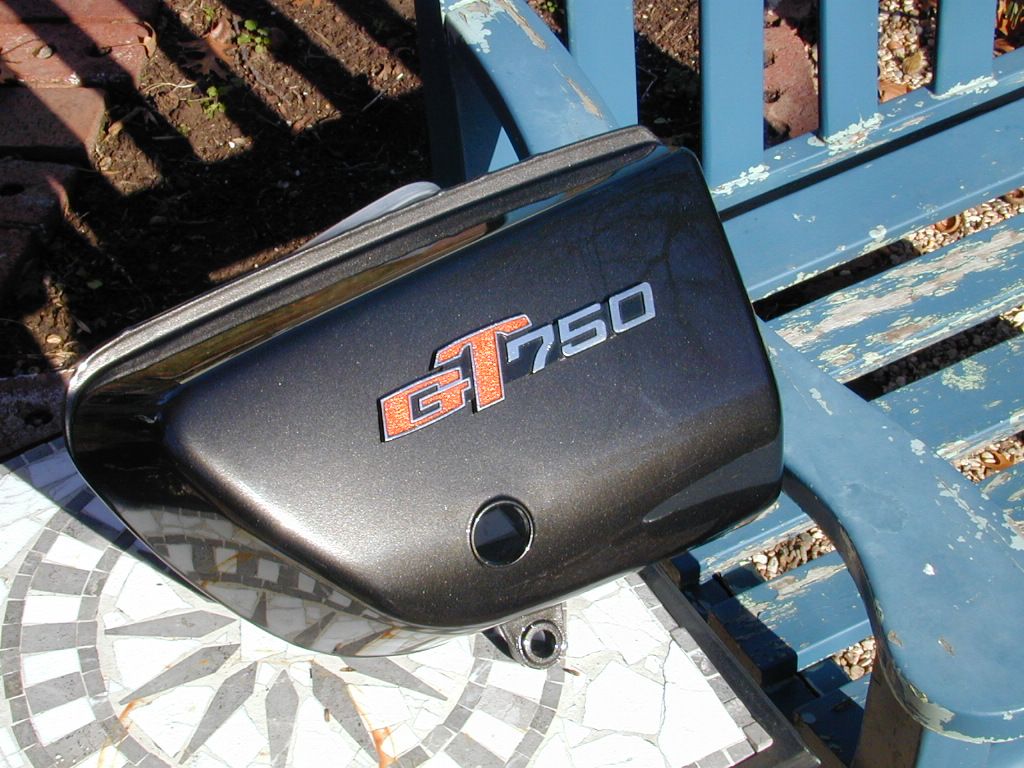
Installed
Here it is after washing it down with Simple Green and a tooth brush. Bird poop optional
Now comes the tedious part. I covered all the orange with general purpose grease. You can see I got some on the chrome part. That was removed with a sheet of paper taped to a sheet of glass and moistened with lacquer thinner. Then I simply dragged the badge across the paper.
Now I failed to get photos of a few steps. I shot the entire badge with semi gloss black. I let the paint dry for about 20 minutes. Then another sheet of paper on the glass moistened with lacquer thinner. Drag the badge across the paper to remove the paint from the protruding numbers and from around the GT. Then I let the paint dry for a couple of days. Then I simply mopped off the grease I had applied earlier with some Q-tips. Viola! Good enough for the girls I go with.
Installed