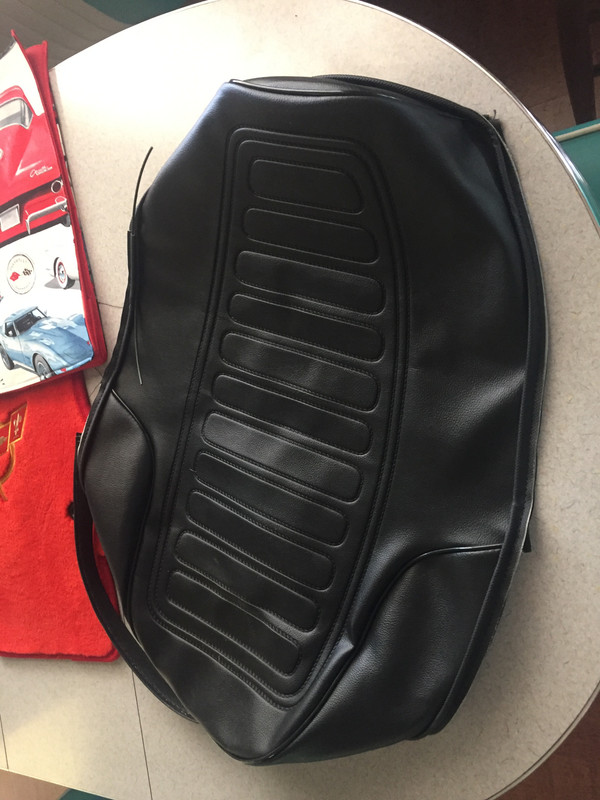
I wasn't going to recover the seat, since I'm cheap, and the existing cover, was intact. It had a pattern, no label, and the strap was redic. tight. It didn't
match the original, which, as seen on a friends' 550, had no pattern, but a tiny pebble-grain finish. I haven't seen any repros like it. I did find my new
cover for only $42, so I went for it. It is very lightweight and has a drawstring in the bottom hem, but otherwise a very accurate pattern.
My seat foam was fair for 46 yrs, but when fitting the new cover, showed voids where foam had fallen out. The old cover had an added gel-like pad that
I liked, and decided to re-use. I trimmed the bottom off and put the old cover under the new one. The new cover stretched over it with not much work,
and smoothed out the appearance of the finished product. It also had a drawstring in a sleeve in the hem that was very helpful getting a secure purchase for tucking under the shark teeth. The string was actually a stiff plastic about 2mm in dameter. Not very good for cinching and impossible to tie, but
excellent for avoiding ripping the hem during installation.
The pan had minor surface rust around the perimeter, which sandblasted off, leaving very light pitting here and there. Primed with etching primer and
painted gloss black. I tried to leave the "shark teeth" primed to make them easier to see poking thru the cover during install.
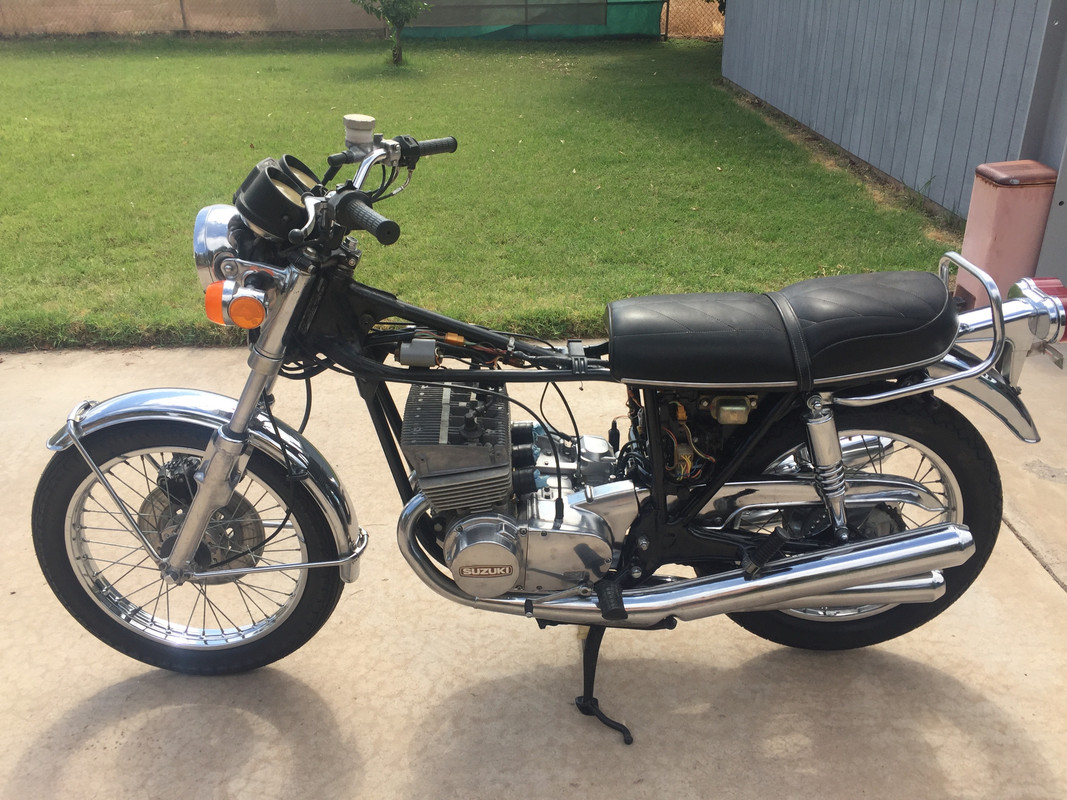
Here is a pic of the finished product.
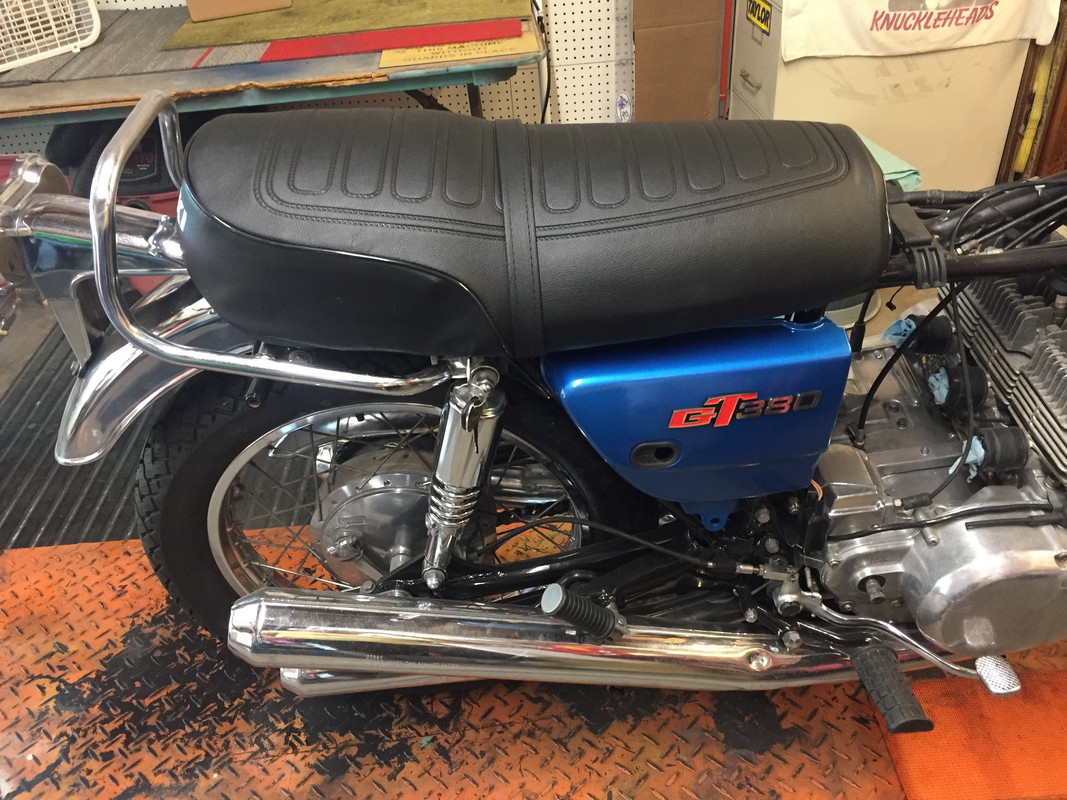
Link to more pics in an earlier post in this thread.


 [/url]

