Well, some bad news, a slight work around, and settling for what it is....
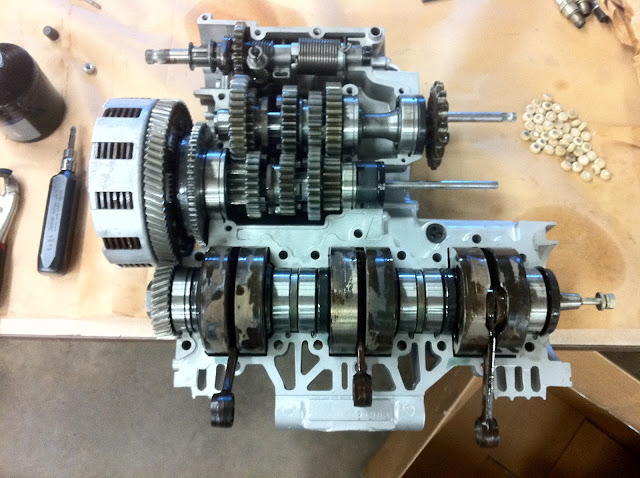
The left bank was the crustiest of three, I suspect an oiling issue. It's bearings on the crank were the noisiest of the bunch too.
All bearings of that type exhibit some noise when spun dry and clean, but these were louder and I suspect had some, though none was visable (albeit there's not much you can see, but with a flashlight & magnifying glass, nothing was seen on the races or bearings.).
Since I'm not in a position to send the crank out to get rebuilt, let alone replace NLA bearings, I cleaned them up the best I could and pre-lubed them w/ 2 cycle oil. They're quite quiet with oil on them.
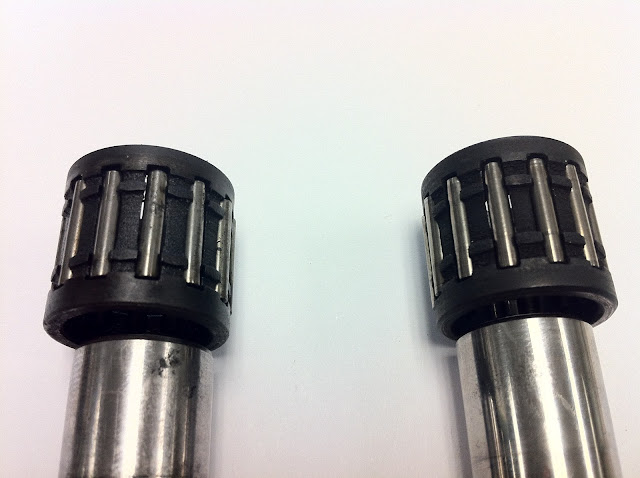
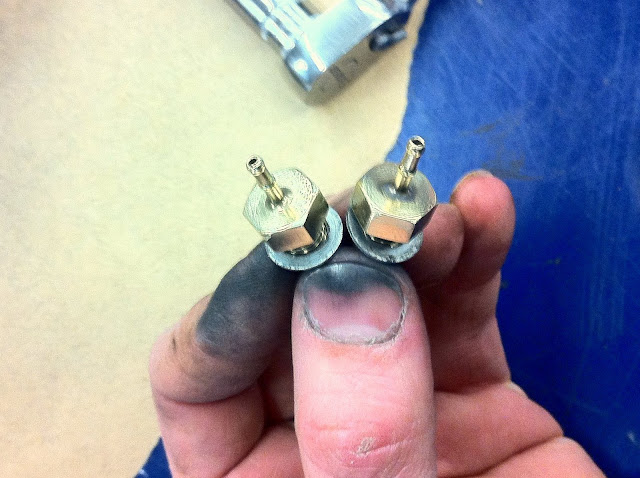
The wrist pin (gudgeon pin) and bearing showed wear too:
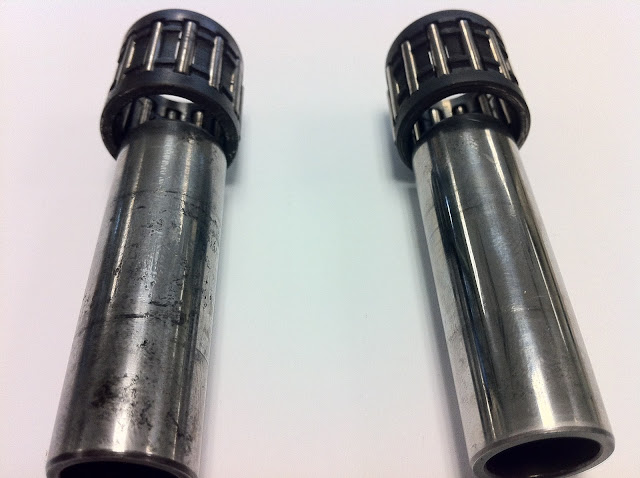
The one on the left is from the '74 and the right's from the '72. I'm using the '74 engine, so I used the nice 72's pin and bearing. I inspected the inside of the upper rod, and saw slight signs of wear, but it was minimal, and I'm not dealing with it (aka, crank disassembly blah blah blah. I suppose it could be honed out and an oversized bearing could be sourced and installed but....)
The pistons were cleaned and heated up with a heat gun prior to pressing the pins in.
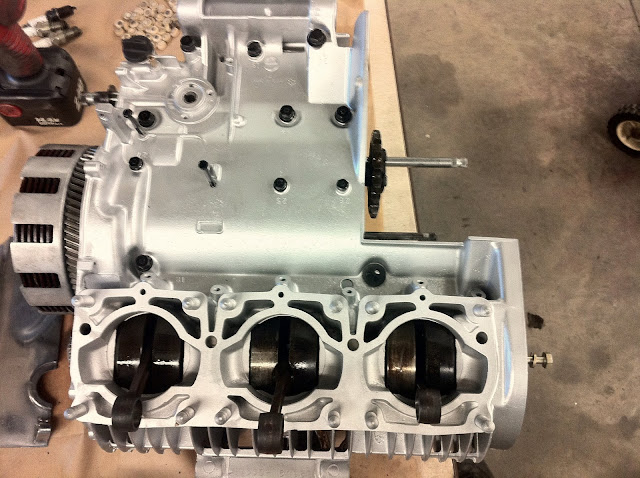
I took a piece of 1/4" steel plate and made my own 09910-20111 "special tool" for holding the rods.
I then used a piece of threaded rod, made a "T" handle on the end w/ some of it, added a couple washers & nuts and used it to draw the pins through the pistons. There's an arrow on the face of the piston, make sure it points toward the front tire.
Pretty slick.
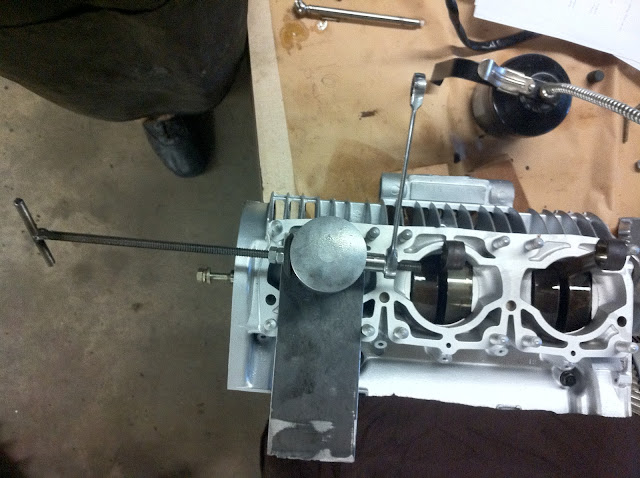
Same tool, combined with a 4" piece of 3/4" ID steel tube made a great wrist pin puller (draws the pin through the piston).
(can be seen in the upper left of the picture below from prior...)

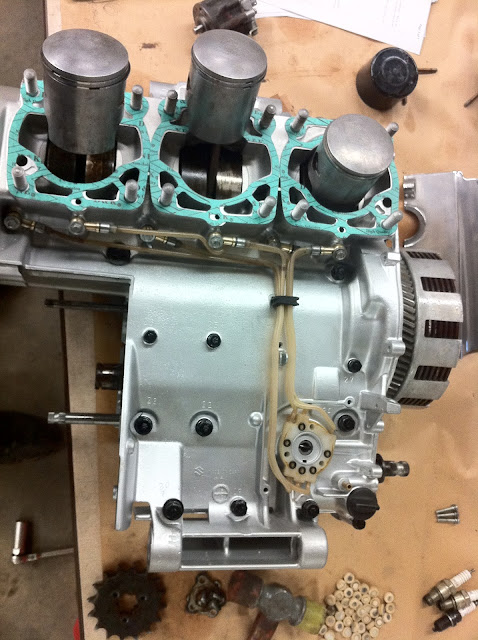
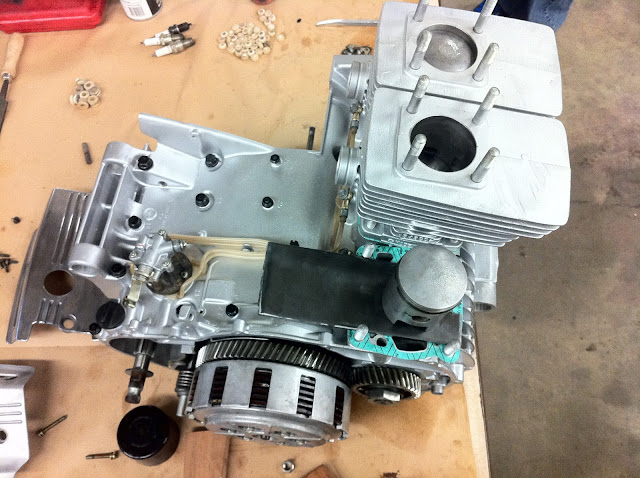
All the below parts were lubricated prior to assembly with 2 cycle oil.
The rings were then installed with on the pistons.
There's a "T" stamped in the rings (indicating TOP or facing UP).
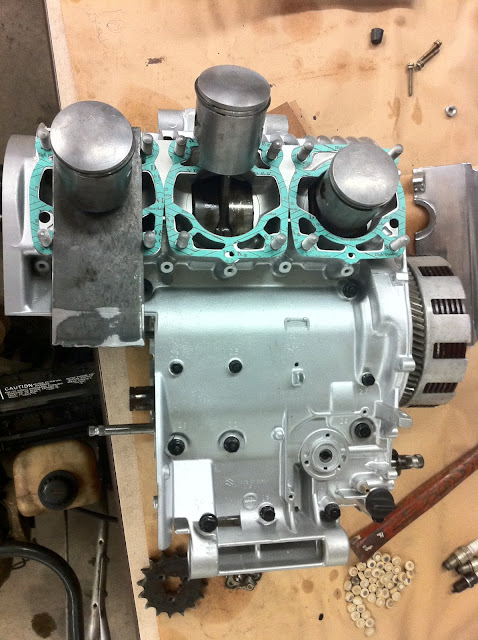
The gaskets are ready and tomorrow I'll be slipping them up into the jugs.


 on the sealing surfaces.